Navigate / search

Insert Joke About Cutting the Cheese Here.

I was at the grocery store the other day, and I saw a hunk of cheese.

A hunk of cheese that, it appeared, had no earthly business sitting in a grocery store in Fayetteville, NC.
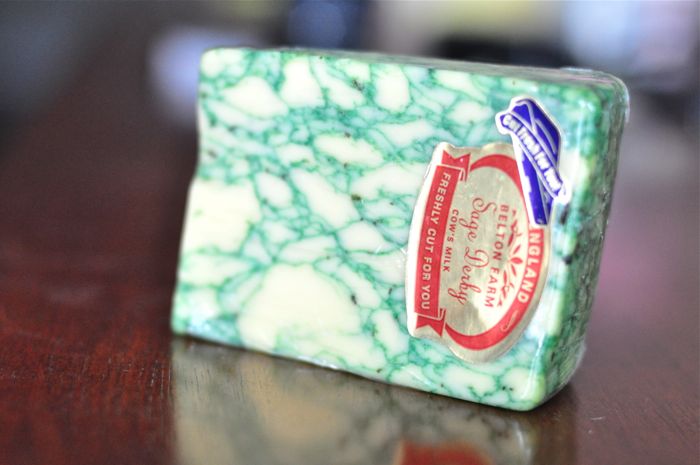
Sage Derby Cheese

I moved on.

Then I came back.  Then I picked it up.  I stared at its martian green marbles, tried sniffing through the plastic.

Then, instinctually, I set it back down.

No earthly business, I thought.

But I came back again.
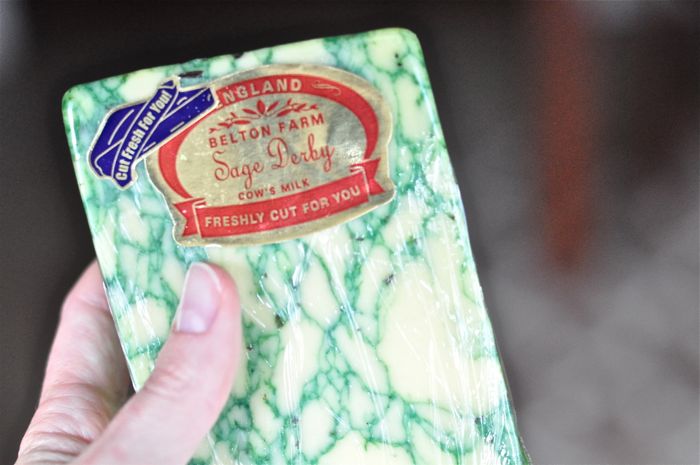
It’s just so enticingly green, I thought.  I love green things.  Green is the color of nature.  And dragons.  And travel.  All of the things I love.

(Okay, so travel isn’t green per se, but green is the color of U.S. paper currency.  Which allows me to travel.  So there ya go.)

Green is also the color of mold, which, okay in most cases maybe isn’t a good thing, but I’m pretty sure I read somewhere that mold and cheese belong together.

Just like me and Scott Bairstow.

He just doesn’t know it yet.

So by that logic, this must be the BestCheeseInTheWorld.

So I bought it.  And there, in the store, through the miracle of modern technology, I found a recipe to use it with as well.

Since I had no idea what this cheese tasted like, I didn’t want to risk buying it and have it sit in my fridge for a decade while I, still rife with indecision, decided what flavors would go well with it.

While I was at it, I also did a little background research a la Wikipedia.  Apparently it’s sage — not mold — that creates the marbled effect (hence the name), and it’s pronounced daaahrby — not derby — with a proper English accent, as the British are wont to do.

When I got it home and ripped into the packaging with the ferocity of an 11-year-old girl at a Justin Bieber concert, (hey — I like my cheese), I actually found the flavor pretty mild.  Nothing to get worked up about.

But the open-faced sandwiches I ended up making with it?

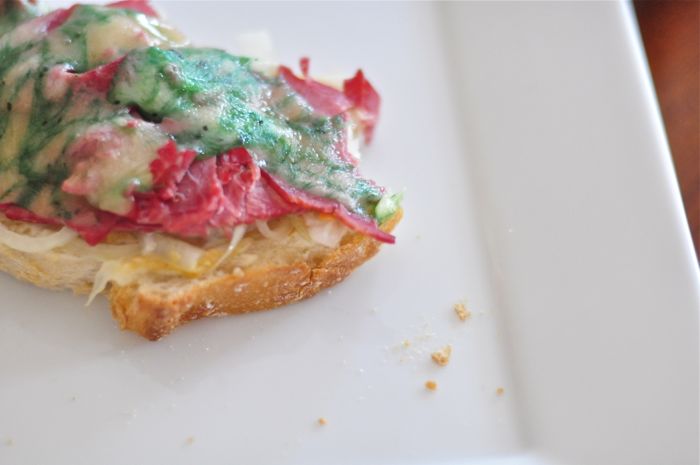
Those are worth mentioning.  And I would venture to say that you don’t need to hunt down Sage Derby cheese to make these bad boys.  Any good melting cheese will do the trick.

They’re open-faced corned beef, cheese, and pickled onion sandwiches.  I found the original recipe here, on Food.com, and it’s everything you could look for in a summer weeknight meal:  it’s fast, and it uses the broiler so you don’t need to heat up the entire house with the oven.

To make them, you will need:

  • 1/2 onion, sliced paper-thin
  • 2 Tbsp. cider vinegar
  • 2 Tbsp. water
  • 2 Tbsp. sugar
  • Pinch red pepper flakes
  • 4 slices of Irish Soda Bread or French Bread or some kind of thick, crusty bread
  • Mayonnaise
  • Spicy Mustard (like Dijon)
  • Thin-sliced corned beef
  • Sage Derby cheese (or some kind of good melty cheese you know you like)

1.  Slice your 1/2 onion as thin as possible.  This would be much, much easier with a mandoline.  You know.  In case anyone wants to buy me one.
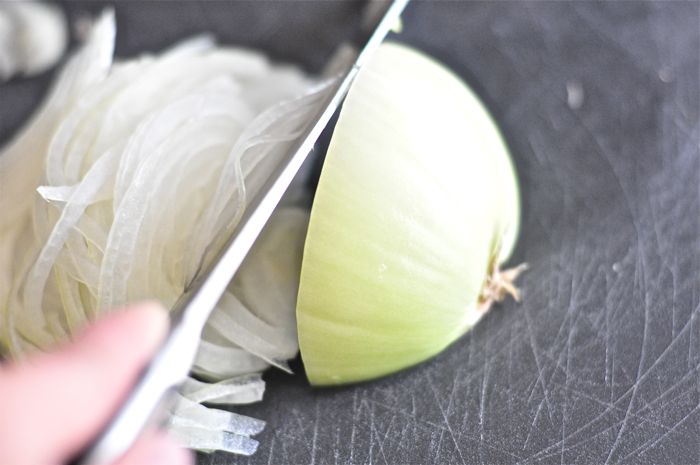
2.  Stick the onion in a bowl, and add 2 tablespoons of cider vinegar…
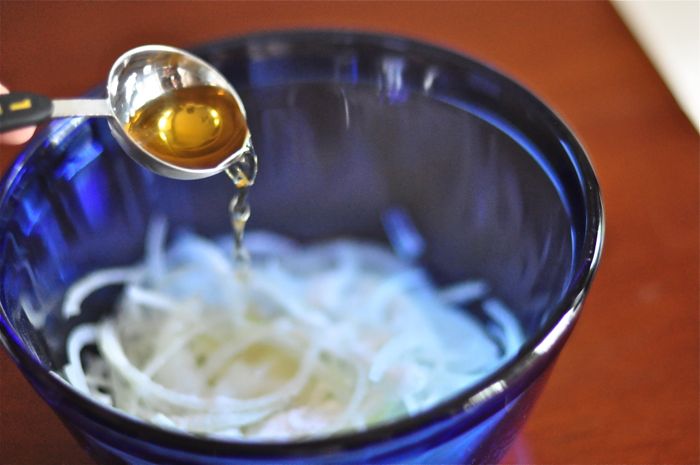
…2 tablespoons of water…

…2 tablespoons of sugar…

…and a pinch of red pepper flakes.
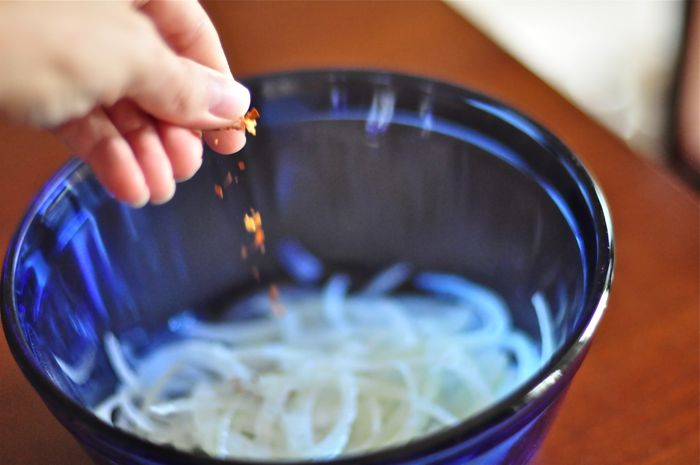
Toss to coat, cover the bowl, and stick it in the fridge.
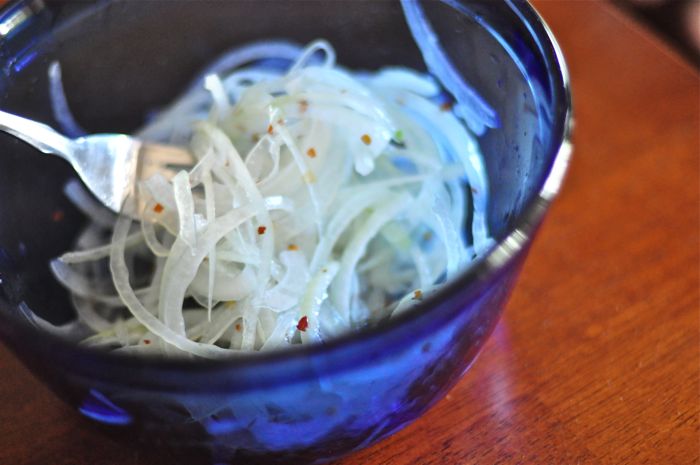
3.  Preheat your oven’s broiler.

(Um.  I don’t have a photo of that.)

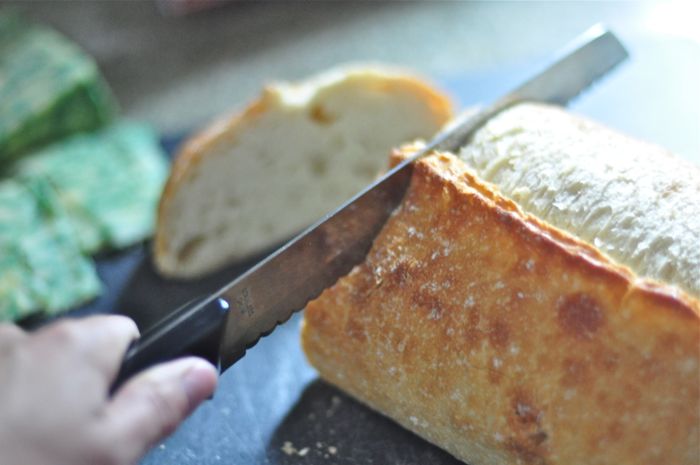
4.  Slice your bread as thick as you’d like.
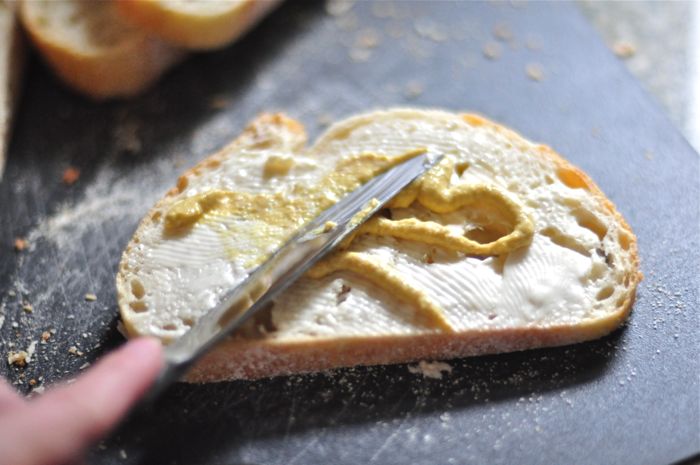
5.  Spread a thin layer of mayo and spicy mustard.
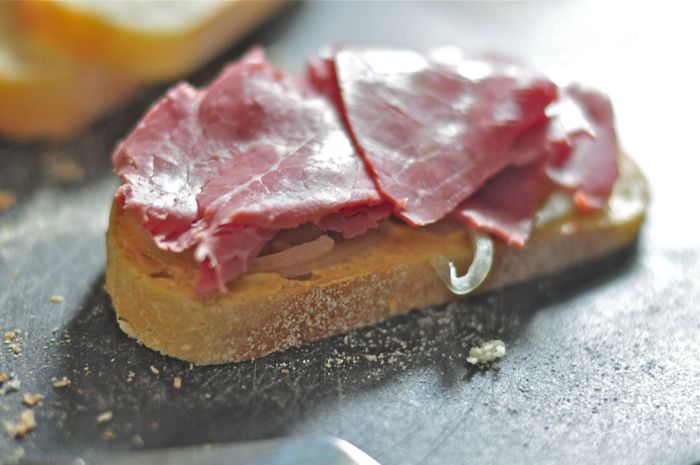
6.  Remove your pickled onion from the fridge and drain the excess liquid, then add that to your bread slices and top with corned beef.
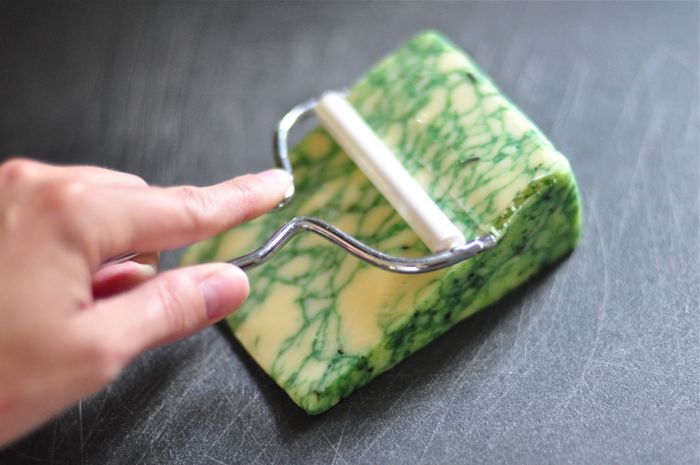
7.  Slice your cheese thin and add that as the final layer.
8.  Place your sandwiches on a baking sheet and stick ’em 6-8 inches under the broiler for 3-4 minutes.
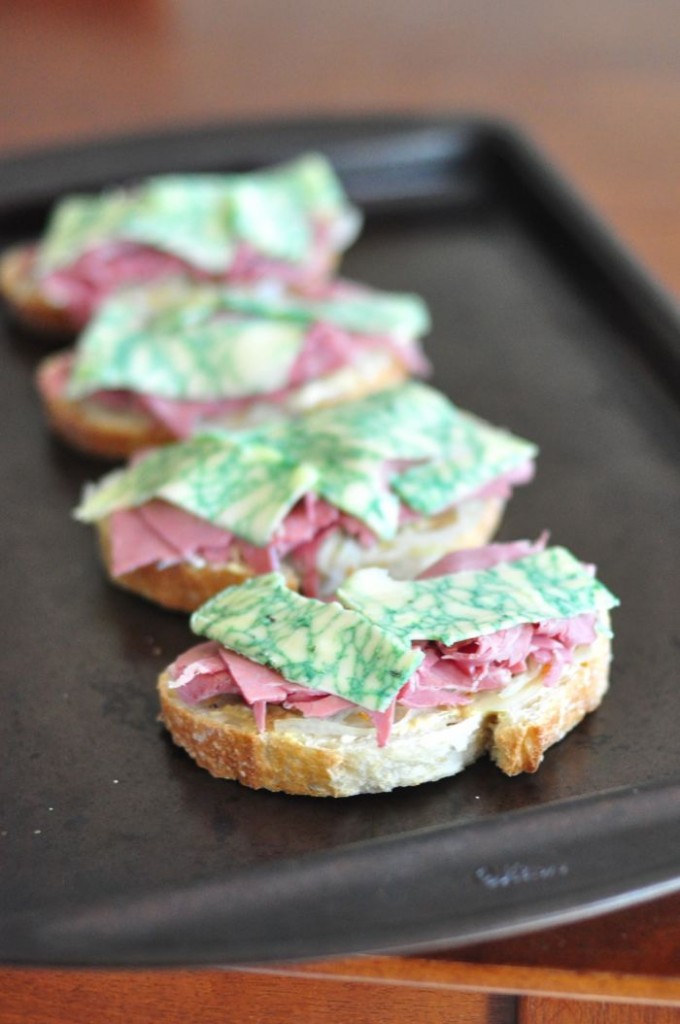
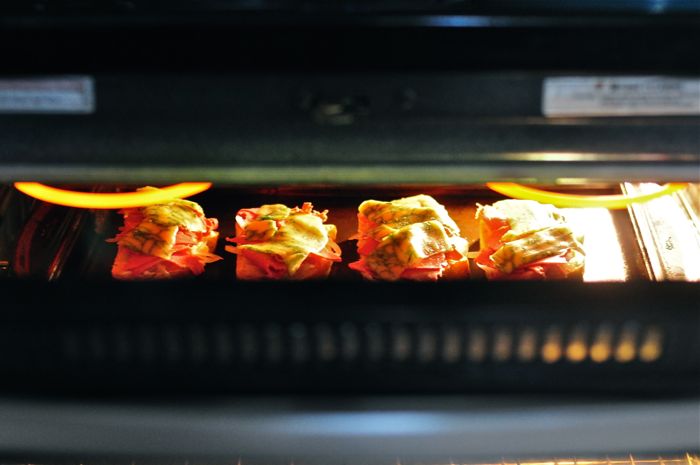
Watch close — you don’t want to burn the cheese!

9.  Okay, so it looks like boring peasant food, but trust me.  Just take a bite.
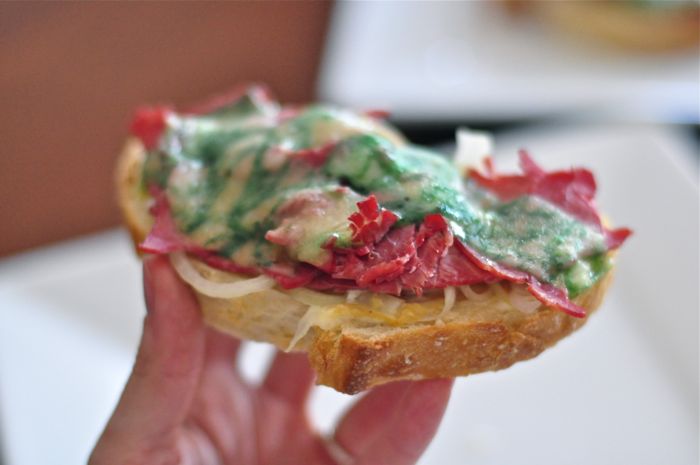
Feel better?
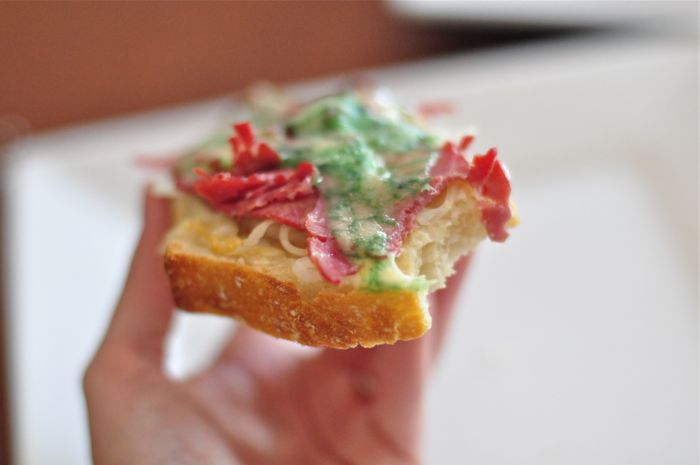
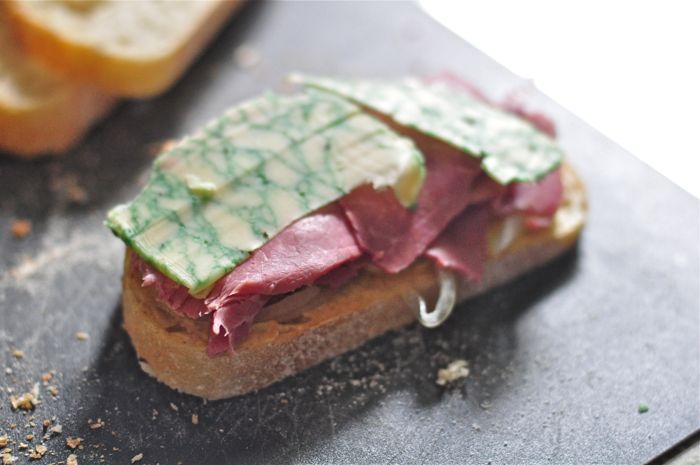
Open faced corned beef cheese sandwich with pickled onions

I mean, if I’d slapped a French name on it, like Croque-Monsieur, you’d be all over these puppies.
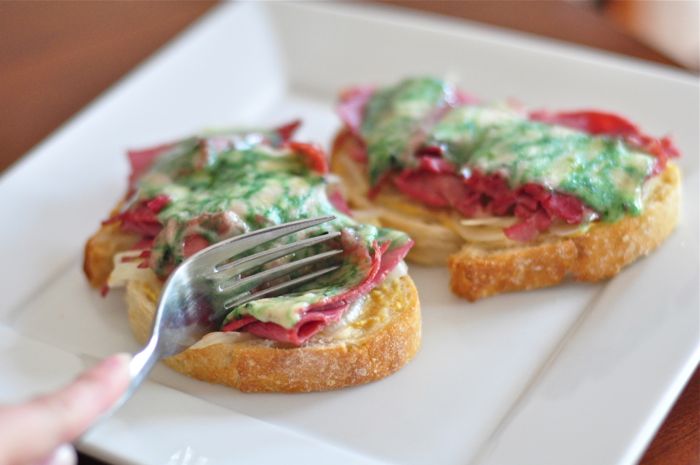
I know we were.
Two nights in a row.

I Have the Dinner Solution for YOU Tonight. You’re Welcome.

I would have had this finished for you earlier, but I got called away for something I will likely tell you about later this week.  Lucky for you, I’m hoping I’m still posting this just in time for you East Coasters to stop and pick up the ingredients on your way home from work.  You West Coasters still have plenty of time, and those of you overseas can have it for breakfast or something.

I am about to share with you one of my absolute favorite dinner recipes in the history of me making the occasional dinner, which has really isn’t a very long history at all.  But that doesn’t change the fact that these are de-frickin’-licious.

I’m pretty sure this is the type of thing that pleases menfolk, womenfolk, and kidlets alike.  I mean, what’s not to like about chicken thickly coated in a tasty sauce and served in a soft taco shell with lettuce, avocado cream, onions,  your favorite hot sauce, or whatever else your hungry little heart desires?

There was once a time when I rarely strayed from the usual ground beef and taco seasoning tacos.  But then I tried these.  And now I’m hooked.  The flavor is out of this world, and while the original recipe calls for all Goya brand products (usually found in the Hispanic shopping aisle of the grocery store), you really can use any brand you like.

Except for the Adobo seasoning.

But we’ll get to that in a minute.

Why haven’t I shared this recipe with you sooner?  Well, to be perfectly honest, it’s because every time I make it and try to take pictures, the photos turn out terrible.  I don’t understand it.  And I absotively, posolutely, cannot take a decent picture of a taco.

Did that sound dirty to anyone else?

And if you’re not into tacos (har-har), the chicken from these is great with nachos.  I’ve even added it to creamy cauliflower and garlic soup that had turned out pretty bland, and this gave it a great southwest kick.

Okay, NOTE:  The original recipe calls for bone-in, skin-on chicken breasts, but I find it much easier to use boneless, skinless breasts.  The result is still very tender, cooked chicken, so I don’t really see the extra point of going through the work of dealing with the bones.  

To make it the way I did, you will need:

  • 2 (8 oz.) cans tomato sauce
  • 2 teaspoons white vinegar
  • 3-4 cloves garlic, minced
  • 3 1/2 teaspoons ancho chile powder (I used regular chile powder since that’s what I have already — cut this amount back to taste if you don’t like things very spicy.)
  • 1 teaspoon ground cumin
  • 2 teaspoons dried oregano
  • 1/2 teaspoon sugar
  • 2 tablespoons olive oil
  • 1.5 – 2 lbs. boneless, skinless chicken breasts
  • Goya Adobo with Pepper, to taste
  • Flour or corn tortillas

See the Adobo seasoning?  It’s basically like a seasoned salt, and really yummy.  I highly recommend picking some of this up in the Hispanic food section of your grocery store.  Make sure you get the one that says “with pepper.”  You will very likely find yourself using it with more than just this recipe.

1.  In a small bowl, mix together the first 7 ingredients: 2 cans of tomato sauce, 2 teaspoons of white vinegar, minced garlic, 3 1/2 teaspoons of chile powder, 1 teaspoon of cumin, 2 teaspoons of oregano, and 1/2 teaspoon sugar.  Don’t ask why there’s a full teaspoon of sugar in the above picture.  That was probably an accident.  A very happy accident.

Also sprinkle in some of your Adobo seasoning.  I’m pretty liberal with this stuff.  Feel free to taste your sauce as you go, so you see which flavors each seasoning is contributing to the overall taste.  It’s a good way to learn.

2.  Heat your 2 Tablespoons of olive oil in a very large skillet over medium-high heat.  Sprinkle more Adobo seasoning over both sides of your chicken breasts, and when the skillet is hot, add the breasts and cook the chicken for 2-3 minutes on each side until they’re lightly browned.  They will NOT be cooked through at this point, and that’s exactly how we want it.

3. Add the tomato sauce mixture to the pan and bring the liquid to a boil.

Honestly?  If you had the pan hot enough to begin with, the sauce will get hot pretty quickly.  Since tomato sauce tends to splatter when it boils, I usually just give it a quick stir, cover the chicken, and then turn the heat down to medium-low.  It’s VERY important that you cover the pan!  This will help your chicken get nice and tender.

Simmer it like this for about 10 minutes, then remove the lid ONCE to flip the breasts, then put the lid back on and don’t touch it again for another 10 minutes.  The chicken is cooked when it’s no longer pink inside.

4.  Once the chicken is cooked, remove the pan from the heat and set the chicken breasts on a plate or cutting board.  Leave the rest of the sauce inside the pan!  Use 2 forks to shred your chicken up into nice pieces.  If you did like I asked and left the lid to the pan alone, the chicken should shred pretty easily.

5.  Add the shredded chicken back into the pan, mix it around with the sauce, and let it cook (without the lid this time) over medium-low heat for about another 10 minutes until the sauce thickens up and begins to caramelize.

There really shouldn’t be much “loose” sauce in the bottom of the pan by the time it’s done — it will all be thick and coating the chicken.

Can I get a mmmmmmm?

That’s it!  Then you just stuff the chicken into your tortillas (preferably warmed), garnish with whatever you like, hold them in front of your mouth, then inhale until everything lands in your stomach.

I like mine pretty plain with sour cream or avocado cream (mashed avocados mixed with sour cream, salt, pepper, and garlic), but you could easily go with the works on these — lettuce, tomatoes, hot sauce, onion, lime, etc.

Wow, that photo doesn’t make these look very appetizing.  But trust me — they are.

These have replaced the brisket tacos I wrote about here.  Why?  Frankly, the chicken tacos are cheaper and I like them better.  The brisket tacos were easy since they were made in a slow-cooker, but… I don’t know.  You’ll just have to try these.  Then you’ll understand.

Here’s one with sauteed red and green peppers on a whole wheat tortilla.

Yummy.

And, like I said before, the meat is versatile.  Try the leftovers on cheesy baked nachos or in a creamy southwestern soup.

Let me know if you come up with some winning combinations.

I might be slightly addicted to this stuff.

Enjoy!

**UPDATE:  Woohoo!  I found a still-not-great-but-halfway-decent-which-is-like-25%-more-decent-than-the-other-taco-pictures taco picture!  I was going through some old memory cards and found this one, which I must have taken yet another time I made these, apparently still searching for the ever elusive good picture of a taco.  Seriously, if you have any tips, I’d greatly appreciate it.  Thank you.

She still looks a little… I don’t know… sparse?  Naked?  This one has avocado cream, and I promise you — the flavor of the chicken combined with this is more than enough taste to go around.