Oh, My Aching Backsplash (Part 3)
Picture, if you will, the face of the innocent young Lowe’s employee a couple weeks ago when I walked up to her and proclaimed with a straight and determined face, “I need some caulk.”
And I wasn’t leaving until I got some.
That’s right, friends. We have finally finished our backsplash. The one I told you about both here and here.
And as usual, by “we” I mean the hubs. The wonderful hunk of a hubs. (Sorry, we went and saw Wicked this weekend – it’s the prequel to The (wonderful) Wizard of Oz.)
Before you can caulk, you need to grout.
I talked about picking your grout in Part 1.
We used a sanded grout that closely matches our tile color. Because we have so many other “expressive” elements going on in the kitchen (busy floors and busy granite), we wanted the backsplash to blend into the background.
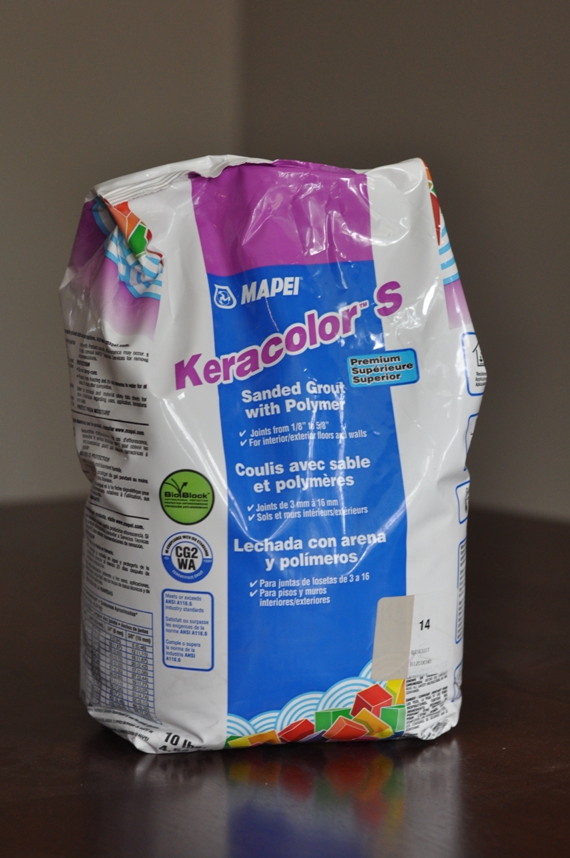
Following the directions on your bag of grout, mix it with water.


We used this tool that you stick on a drill to help with the mixing.

Slowly add water as necessary while you mix. You should end up with something close to the consistency of peanut butter.

Once your grout is mixed, use a tool called a grout float to press the mixture into the spaces between the tiles. Don’t worry about getting the grout on the tops of the tiles – it’s pretty much unavoidable.
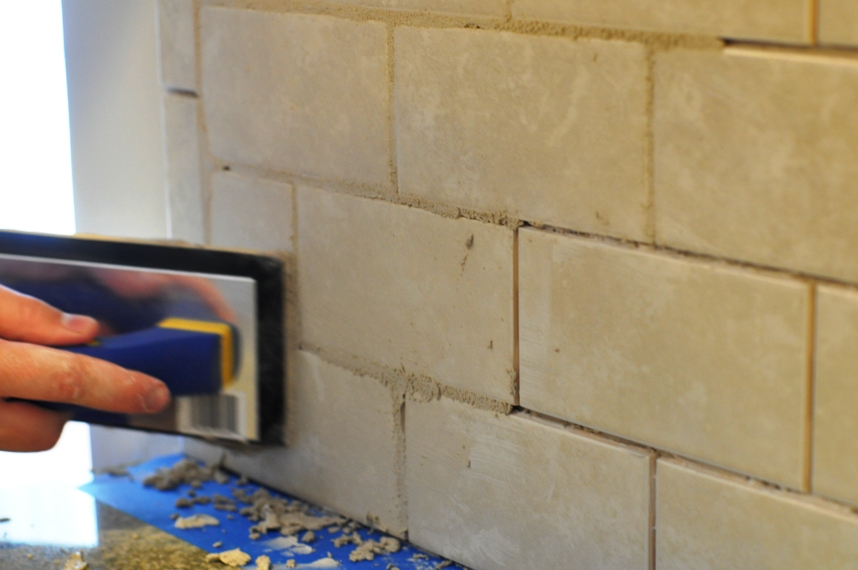
Make sure you really press it in there good. This is going to completely finish off the look of the backsplash, and you don’t want it cracking later.

Give the grout enough time to start setting before you sponge it off your tiles – but don’t wait so long that it’s difficult to wipe away! We worked in 4-5′ sections, adding the grout and then sponging away the excess.
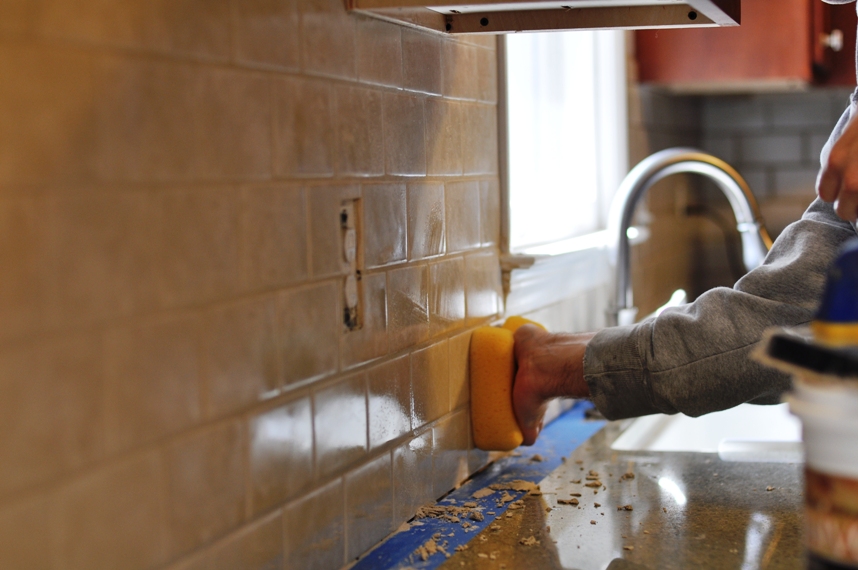
And that’s all there is to grouting! You might think you’re done at this point.
You will really want to be done at this point. Unfortunately, there are just a couple more finishing touches.
We got sidetracked for about a week (okay, maybe 3) before finishing up our ‘splash.
All we really had left to do was seal the grout and caulk along the gap between the counter and backsplash. Unfortunately, it always seems to be those little things – those finishing touches and small detail projects – that get us all hung up for some reason. Like performance anxiety.
But eventually we got over it when we realized we were more likely to damage the work we’d already done by not completing these few, final details.
So here’s the down ‘n dirty:
First, we used this water-based sealer to protect the grout from stains.
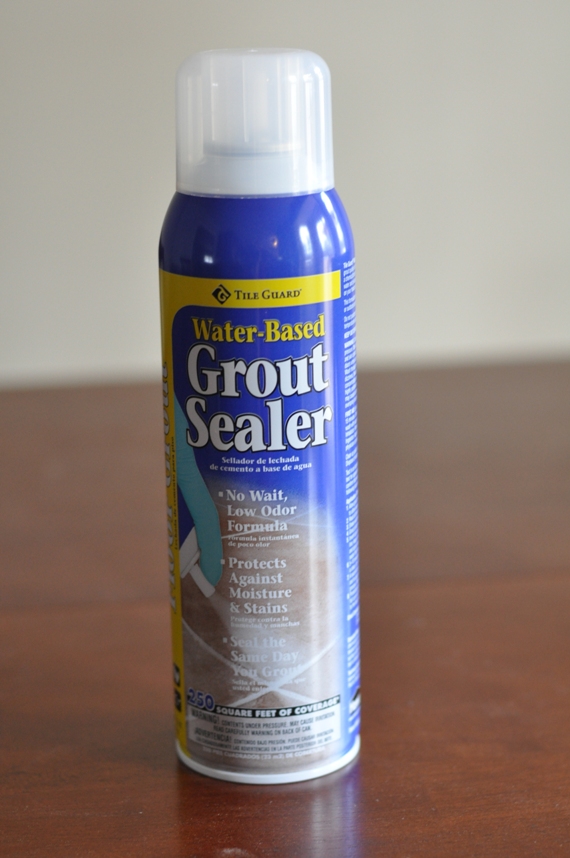
As with everything else, there are several options when it comes to grout sealer. For out guest bathroom floor, we had used a rub-on liquid grout sealer. For this vertical surface, however, we thought a spray-on kind might be easier. Turns out it didn’t matter much because the stuff dripped like crazy. Luckily I was right there with paper towels to clean it up and protect the counters.
Just follow the directions on the can, and spray!

It should go without saying that you should try to avoid spraying this stuff in your outlets. The hubs was very careful.
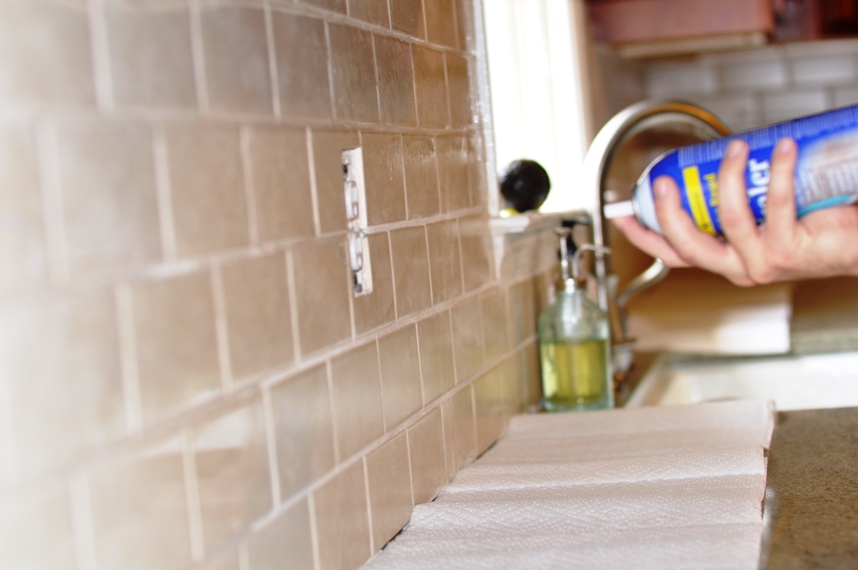
We let the sealer dry 24 hours before moving on to caulking.
When it comes to caulk, you’ll find you have more options than Tiger Woods when he flips through his little black book. (Low blow, sorry.)
I learned that for caulk that goes between a counter and tile backsplash, it’s a good idea to get something that closely matches the color of your grout. That way it will look like it belongs there. (If you’re caulking between a counter top and the side panel of a cabinet, however, you’d want to get clear caulk so it doesn’t stand out at all. Capiche?)
Lucky for us, the same company that made our grout also made a caulk in a matching color. I found this in the same section.

Now in the above picture, can you see those hardened grout chunks between the bottom row of tiles and the counter? Yeah… those aren’t supposed to be there. When grouting your backsplash, you should be very careful to not get the grout between the tiles and counter.
But if you don’t realize that like us, you’ll want one of these. A grout scraper.
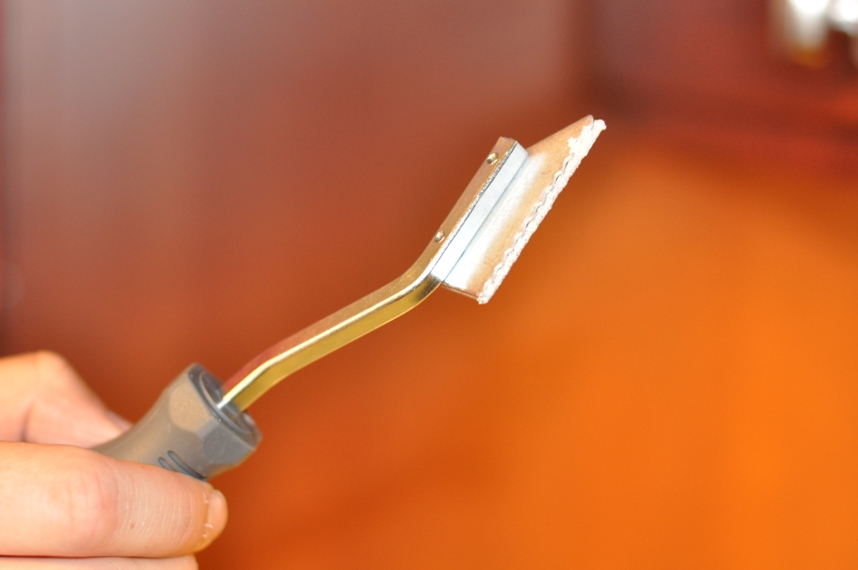
You could probably use a hammer and chisel, but we were worried about accidentally chipping some of our tiles. With this handy-dandy tool, the hubs could scrape and chip away with a bit more control.

He then used a vacuum to clean up all of the dust before caulking.

Once the surface is clean, use a caulk gun to distribute an even rope of caulk into the gap.
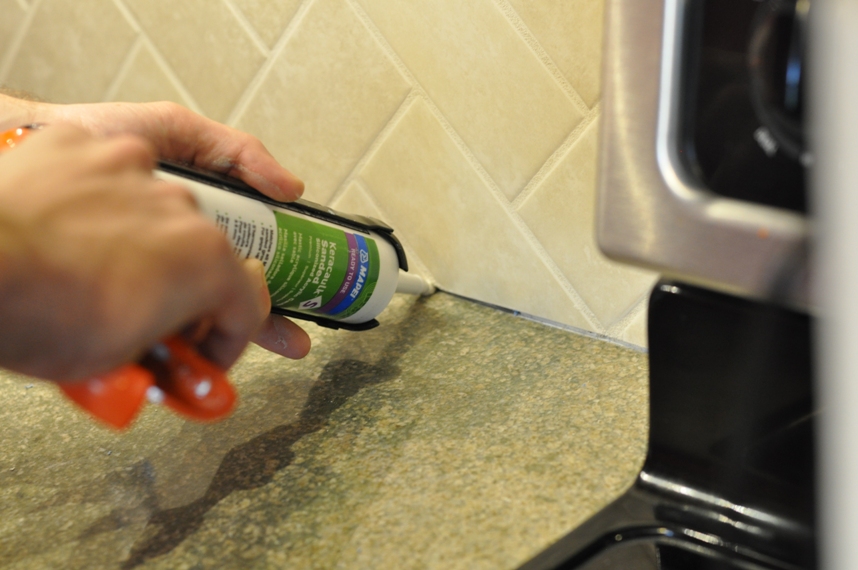
Unless you’re a super experienced caulking expert, it might be difficult to control how evenly you distribute the caulk, and you won’t end up with a nice, smooth line.

If this is the case, you might want to get yourself a caulk finishing tool.
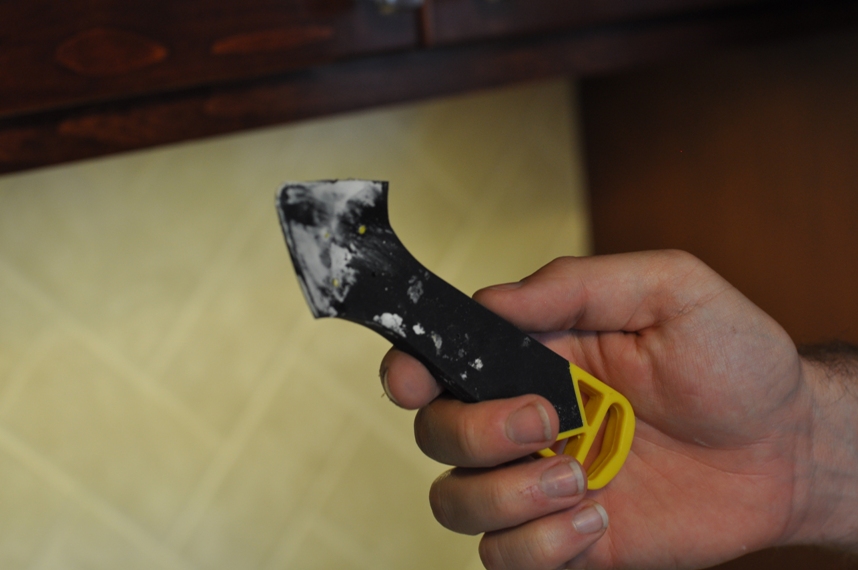
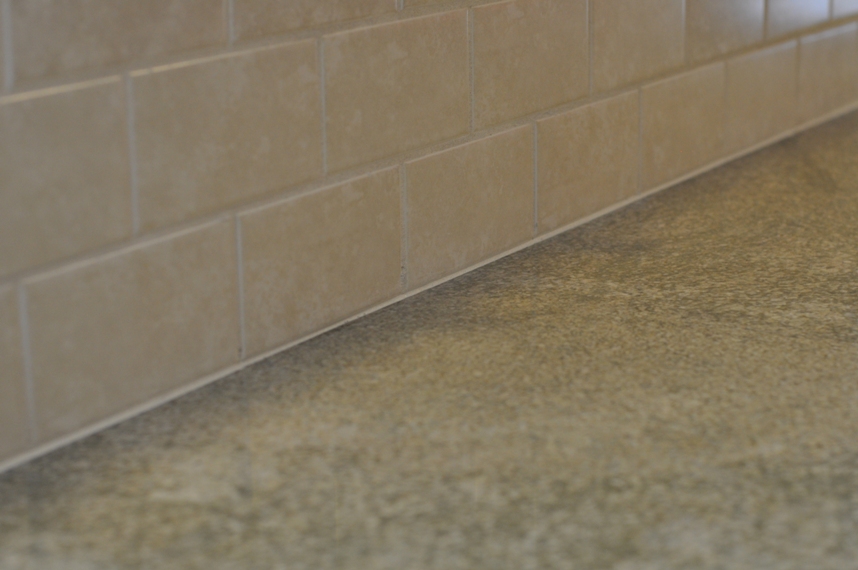
This little guy worked wonders for smoothing out the hubs’ caulk line and making it look professional. See the uneven line on the left side of the picture compared to the smooth line on the right:

When you’re finished, make sure you wipe away any stray caulk from your counter or tile faces before it dries.
And viola!
You should finally, finally have a finished backsplash.

We saved over $500 worth of labor costs, and we kept our other expenses low by choosing inexpensive, ceramic tiles and using a tile saw we already owned. We also returned our unused tiles to the store!
So what do you think?? Leave a comment and let me know. Don’t leave me hanging or I’ll think we suck. :)
Also, the unveiling of our finished (but as of yet un-accessorized) kitchen is coming soon!
You might also be interested in:
How to Tile A Backsplash (Part 1)
How to Tile A Backsplash (Part 2)

Comments
YAY!!!! YOU’RE DONE!!!! It looks beautiful!!!
Ha, thanks for not making me feel like we suck!
It looks terrific, Kate! I am super jealous of your backsplash (and caulk).
Haha, thanks!
No Kate – you do not suck :)
The back splash looks totally awesome. I’m liking the step by step pictures and commentary.
Getting a well sealed backsplash is so important when you’ve got a hubs who cooks!!
Thanks, Anne! Sometimes you just need a little affirmation, you know? :) And yes, it’s very important – especially if you have a hubs who cooks messily!
Hi Kate: I have to say, I love your DIY projects and your details when describing them. Everything I’ve read so far, is right ON! My boyfriend and I have been tackling restoration projects throughout my home too. So, I can sympathize the ups and downs of emotions throughout the whole process. We’ve managed to stay together too – but it’s been rough at points, hehe. Anyway, your end progress is gorgeous and well thought out. I want to do a backsplash for my newly re-done kitchen too but am having problems deciding on a backsplash. BF doesn’t really want one whereas I do. Any suggestions, as to how to choose one? Notice I’m asking for WHEN we choose one. ;)
Thanks, Jackie! I tried to make it detailed because we went through so much trial-and-error, I figured I save everyone else the hassle if I could.
So your boyfriend isn’t sold on the backsplash idea? I know you didn’t ask for it, but here’s a tip: Guys aren’t usually so keen on aesthetics. In other words, with the rare exception, they don’t usually care how things look. They can, however, often be sold on function. If you can explain why something is functional — not just why it looks good, it’s harder for them to be against the idea. Lucky for you, having a real backsplash is functional! Tiles, especially if protected properly, can be soo much easier to clean than a painted wall (or especially an unpainted wall).
It’s probably good to mention here that you’re not just restricted to tiles. I know, you’re already overwhelmed with the decision about what backsplash to choose and now I’m throwing more options at you, but hear me out. Do you know why your boyfriend is against a backsplash? Budget? Tiling is too much work? There are some gorgeous and less expensive and less labor-intensive options, like tin, stainless steel, or beadboard, depending on the style of your kitchen (I looove beadboard backsplashes). No matter what material/pattern/color you choose, I think finishing a backsplash is a huge part of finishing a kitchen. If you’re at all concerned about re-selling your house one day, something as small as a backsplash can set you apart from the competition. (There’s another functional argument for you to throw at your boyfriend ;)
Anyway. If you’re looking for ideas, I’d check out TileTramp.com. She’s got fantastic pictures and ideas galore, and if you’re lost, she’ll give you some free design advice! If you DO get your dream ‘splash, I hope you keep me posted and send some pictures!
Thank you, Katie. I appreciate your response. I checked out TileTramp’s blog also and she writes just like you, so I know I’ll enjoy reading her blogs as well. :) Thank you for suggesting how to approach the backsplash dilemna with my bf. I forgot to mention, that he is an Interior Designer/Project Mgr and ironically that is how we met, at a Design firm we both worked at. Problem is, he’s too knowledgeable on the subject, haha! So, he’s seen the good with the bad from previous projects. That’s not good for me in this situation. I agree with you that having a functional yet attractive looking backsplash is the cherry on the sundae, so-to-speak. It finishes off a project well done and let’s face it, after all the hard working months it takes to finish these projects, who doesn’t want to finish it off with a bit of splash … backsplash, that is. He’s not totally against it. Actually, he likes the idea but I think I just haven’t picked out the right one YET. I seem to keep going for the tiles that are either too trendy or too plain – no in-between. Maybe that’s where the TileTramp can help, we’ll see. Keep up the great writing and as I’m still renovating my home, I will continue to be entertained by reading your hysterical takes on what I have come to realize is now my everyday life. ;)
HA! Well that definitely DOES change things up a bit. Creative differences are a whole new ballgame — one I happen to know nothing about. I caved to a couple design aspects my husband wanted in the kitchen and regret them to this day. That said, my husband isn’t a bona-fide designer. Neither of us is. I’m sure you will get tons of ideas from Tile Tramp, AND she gives free advice if you send her pics of your space! I can’t wait to see what you come up with. :)
Still good stuff! Exactly what I was looking for! Thank You for being so complete and simple!
[…] How to Tile A Backplash (Part 3) […]