Navigate / search

Insert Joke About Cutting the Cheese Here.

I was at the grocery store the other day, and I saw a hunk of cheese.

A hunk of cheese that, it appeared, had no earthly business sitting in a grocery store in Fayetteville, NC.
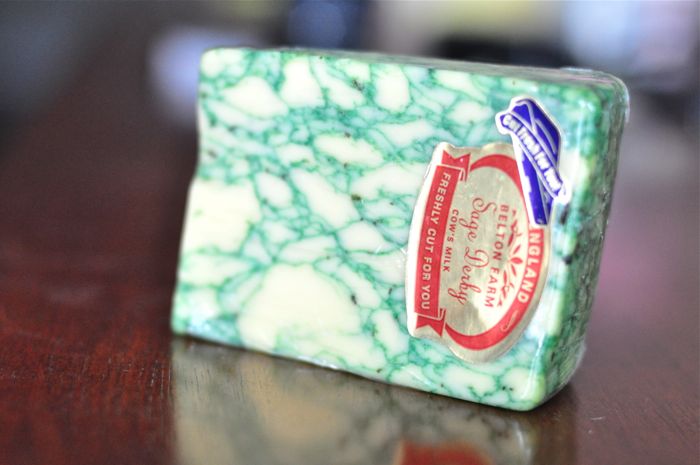
Sage Derby Cheese

I moved on.

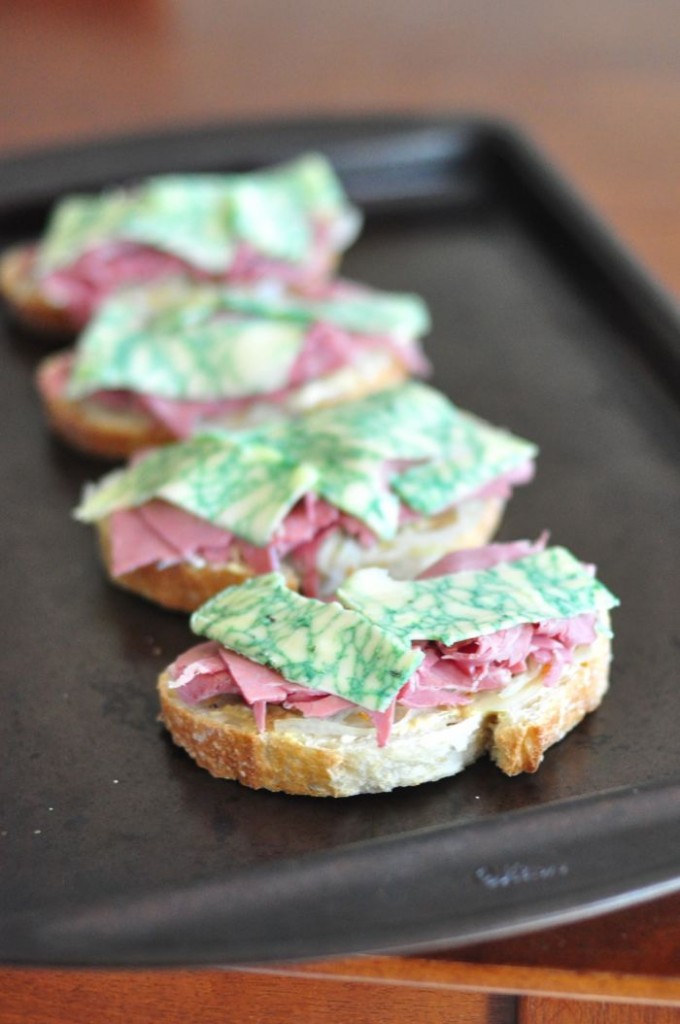
Then I came back.  Then I picked it up.  I stared at its martian green marbles, tried sniffing through the plastic.

Then, instinctually, I set it back down.

No earthly business, I thought.

But I came back again.
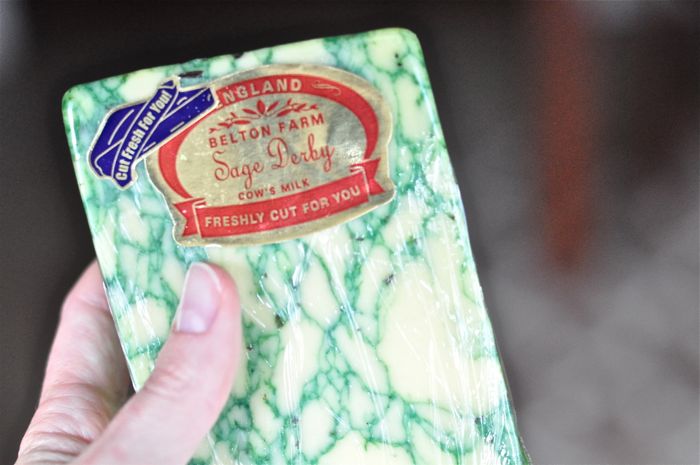
It’s just so enticingly green, I thought.  I love green things.  Green is the color of nature.  And dragons.  And travel.  All of the things I love.

(Okay, so travel isn’t green per se, but green is the color of U.S. paper currency.  Which allows me to travel.  So there ya go.)

Green is also the color of mold, which, okay in most cases maybe isn’t a good thing, but I’m pretty sure I read somewhere that mold and cheese belong together.

Just like me and Scott Bairstow.

He just doesn’t know it yet.

So by that logic, this must be the BestCheeseInTheWorld.

So I bought it.  And there, in the store, through the miracle of modern technology, I found a recipe to use it with as well.

Since I had no idea what this cheese tasted like, I didn’t want to risk buying it and have it sit in my fridge for a decade while I, still rife with indecision, decided what flavors would go well with it.

While I was at it, I also did a little background research a la Wikipedia.  Apparently it’s sage — not mold — that creates the marbled effect (hence the name), and it’s pronounced daaahrby — not derby — with a proper English accent, as the British are wont to do.

When I got it home and ripped into the packaging with the ferocity of an 11-year-old girl at a Justin Bieber concert, (hey — I like my cheese), I actually found the flavor pretty mild.  Nothing to get worked up about.

But the open-faced sandwiches I ended up making with it?

Those are worth mentioning.  And I would venture to say that you don’t need to hunt down Sage Derby cheese to make these bad boys.  Any good melting cheese will do the trick.

They’re open-faced corned beef, cheese, and pickled onion sandwiches.  I found the original recipe here, on Food.com, and it’s everything you could look for in a summer weeknight meal:  it’s fast, and it uses the broiler so you don’t need to heat up the entire house with the oven.

To make them, you will need:

  • 1/2 onion, sliced paper-thin
  • 2 Tbsp. cider vinegar
  • 2 Tbsp. water
  • 2 Tbsp. sugar
  • Pinch red pepper flakes
  • 4 slices of Irish Soda Bread or French Bread or some kind of thick, crusty bread
  • Mayonnaise
  • Spicy Mustard (like Dijon)
  • Thin-sliced corned beef
  • Sage Derby cheese (or some kind of good melty cheese you know you like)

1.  Slice your 1/2 onion as thin as possible.  This would be much, much easier with a mandoline.  You know.  In case anyone wants to buy me one.
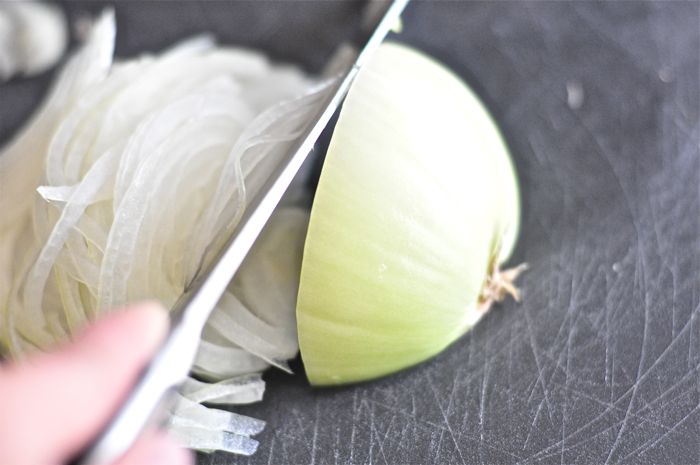
2.  Stick the onion in a bowl, and add 2 tablespoons of cider vinegar…

…2 tablespoons of water…

…2 tablespoons of sugar…

…and a pinch of red pepper flakes.
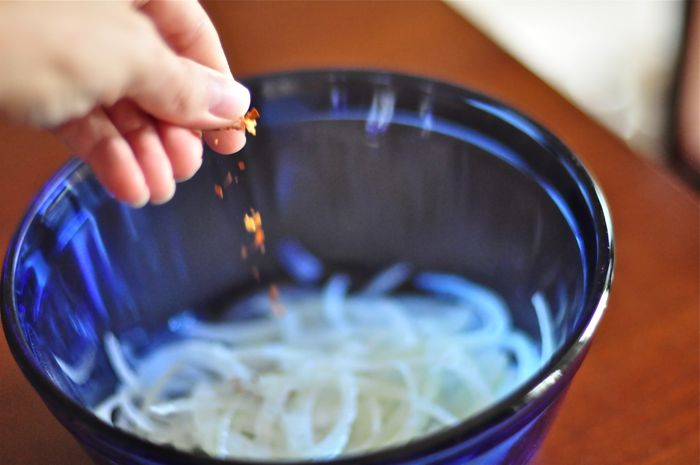
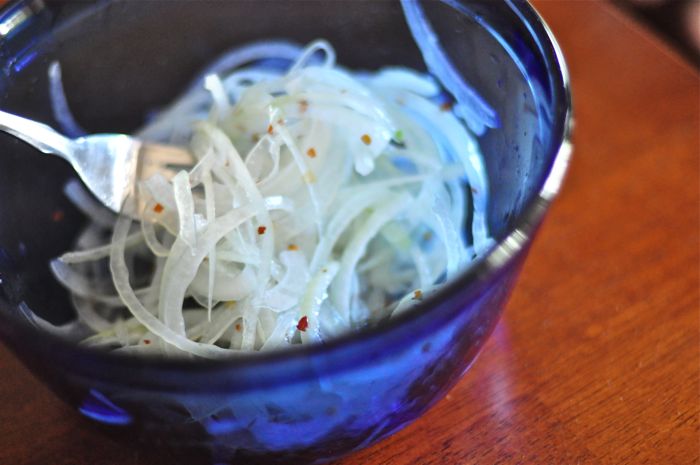
Toss to coat, cover the bowl, and stick it in the fridge.
3.  Preheat your oven’s broiler.

(Um.  I don’t have a photo of that.)

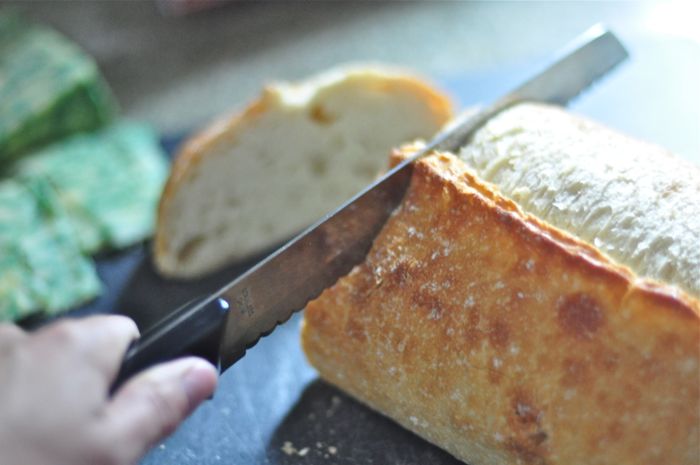
4.  Slice your bread as thick as you’d like.
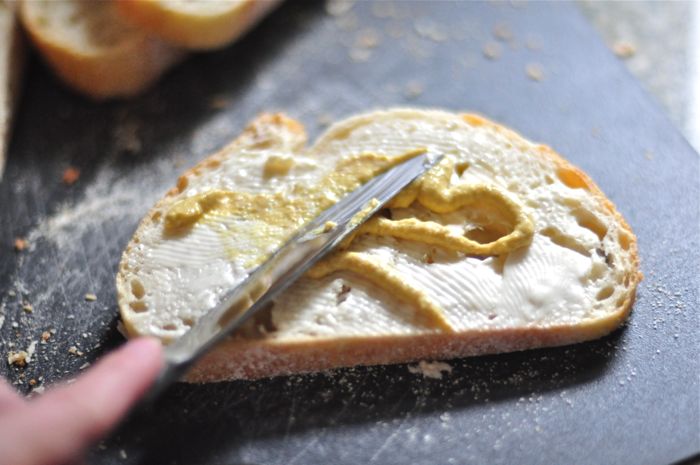
5.  Spread a thin layer of mayo and spicy mustard.
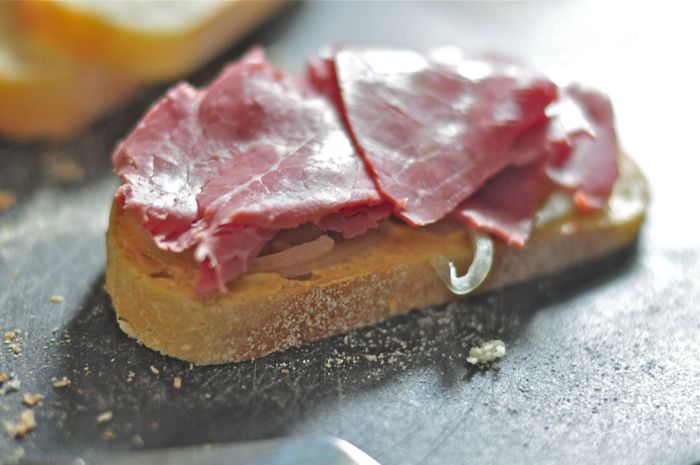
6.  Remove your pickled onion from the fridge and drain the excess liquid, then add that to your bread slices and top with corned beef.
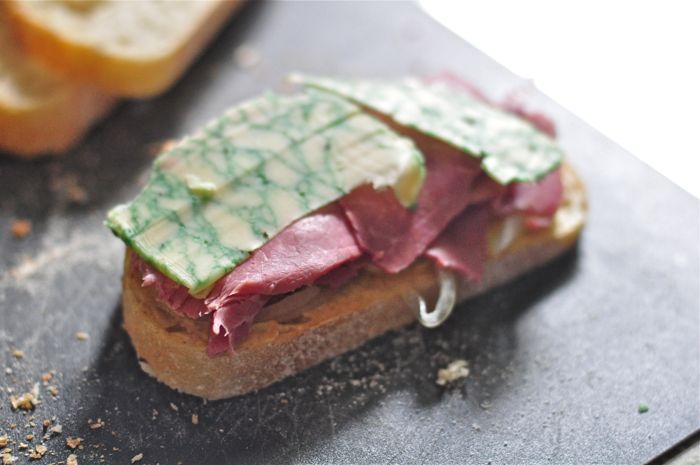
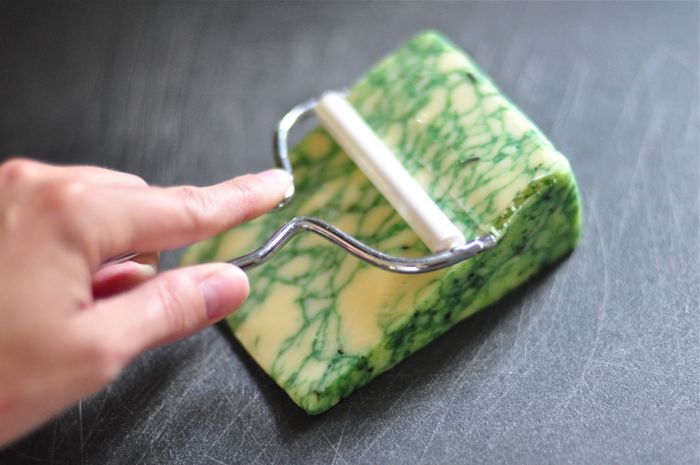
7.  Slice your cheese thin and add that as the final layer.
8.  Place your sandwiches on a baking sheet and stick ’em 6-8 inches under the broiler for 3-4 minutes.
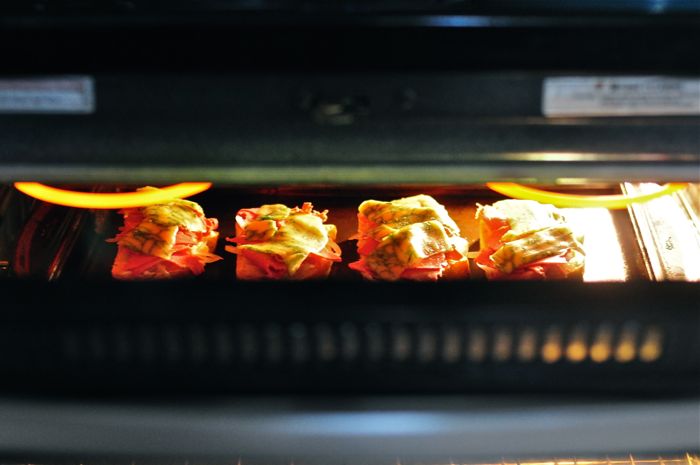
Watch close — you don’t want to burn the cheese!

9.  Okay, so it looks like boring peasant food, but trust me.  Just take a bite.
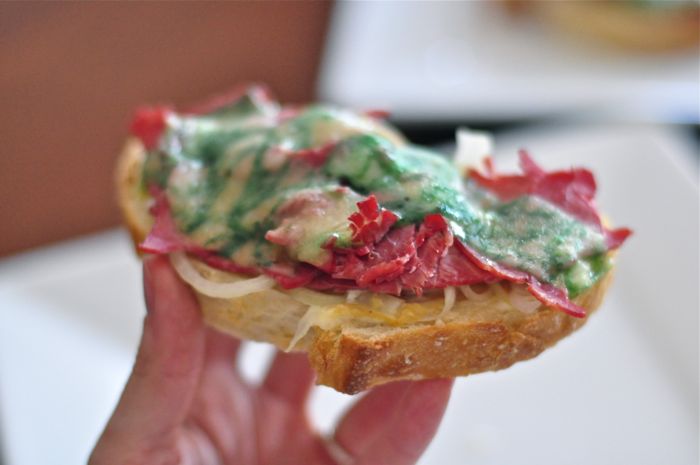
Feel better?
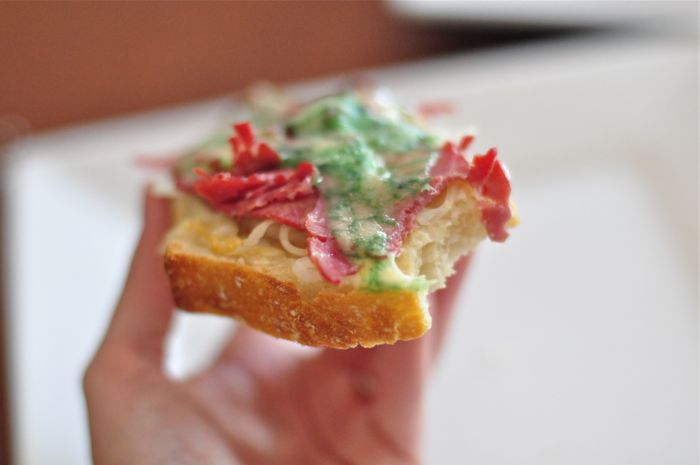
Open faced corned beef cheese sandwich with pickled onions

I mean, if I’d slapped a French name on it, like Croque-Monsieur, you’d be all over these puppies.
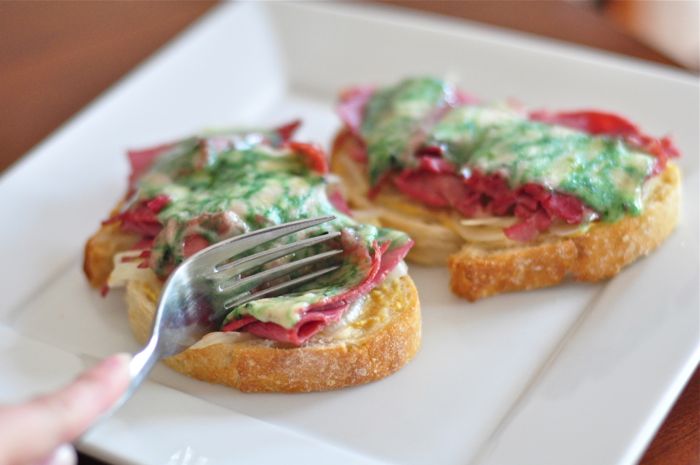
I know we were.
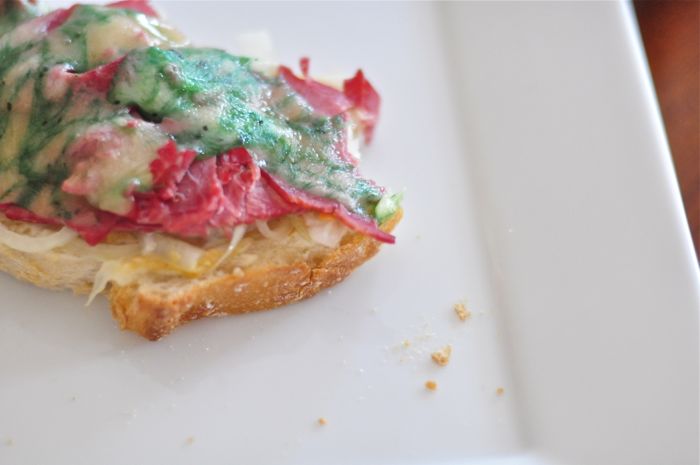
Two nights in a row.

Getting a little R&R

Rest and Relaxation?  Definitely not.  Not after my browser decided to eat my post and I had to start all. Over.

Nope, this “R&R” stands for Rant and Recipe.  Because that’s what I’m sharing today.  Feel free to skip on down to the recipe (it’s really good) if you don’t want to read the rant.  I won’t mind.  Promise.

A fellow blogger and online friend Dennis, creator of Musings on Life and Love, called me out on something in my “Defining Domestiphobia” post the other day.  He basically pointed out that I sure do a lot of cooking (and home renovations, and crafty projects) for someone who’s a self-professed Domestiphobe.

And, if you didn’t read my post extremely carefully, you might be wondering the same thing:  Why all the cooking if I’m Domestiphobic?  It seems kind of counterintuitive.  And you (and Dennis) would be right.

It’s not what you would expect.

But here’s where I feel like I need to explain a little something about myself.  I don’t like to be told that I can’t do something – that there’s a particular goal or challenge or achievement that’s beyond my reach.  Cliché as it sounds, it’s just a fact.

Don’t get me wrong – I know my limits.  I know I’m not going to ever play for the WNBA or become a famous singer.  There’s a difference between natural talent and learned skills.  It’s the same reason I know I will never cook at a Michelin star restaurant.  I’m just not that good.

Like I’ve said before, I’m a follow-specific-instructions-and-hope-everything-comes-out-edible kind of girl.  And I certainly don’t create the recipes myself.

But I like cooking.  So I cook.  Simple as that.  I used to be afraid of it, then it became a challenge, and then I started enjoying it.  And if you’re still wondering how that can be possible for a Domestiphobe, the reality is that it falls in with my goals quite nicely:

1.  Cooking helps me “tie together the things I’m fortunate enough to have” (family, nice kitchen, drive to learn) “…with the things I’m crazy enough to want” (new skills, variety in my life, experience new foods).

2.  Not only is cooking a valuable skill to have, it expands my knowledge of world cuisine.  While I’d love to taste ethnic foods by traveling all over the world eventually, cooking at home makes it so I don’t have to wait.

3.  Cooking is therapeutic.  Instead of going home from my old job, ordering takeout, and plopping my ass in front of the television, I chose a recipe before I left work, picked the ingredients up from the store on the way home, poured myself a glass of wine and turned on the tube or the tunes, made the dinner, and then plopped my ass in front of the television.  I still unwind this way at the end of many days, even though I no longer have the 9-5.  I even do this when Justin’s out traversing the world with the military.  I do it for me.

4. I like food.  I like to know what’s in my food.  I’d like it to be relatively healthy.  And, when it’s not (which is quite frequent), at least I can control the amount of additives, preservatives, hormones, steroids, etc. that are going into the individual ingredients.  If I’m eating something that I know is going to congeal in my arteries, I at least what to be able to pronounce what’s congealing in my arteries.

So, with that long-winded introduction, I have a recipe for you today.  It’s one of my favorites EVER. Spinach Feta Quiche.

I know quiche sounds fancy if you’ve never made it before, but it’s just a savory (aka. not sweet) pie with some fillings and egg thrown in.  Even those of you who say you can’t cook (I’m talking to you, IWOM) can make this quiche.

It will definitely impress any people you whom you try making it.

Unless they don’t like cheese, sautéed mushrooms, or spinach.  In which case, you’re probably better off without them.  (The people, not the mushrooms.)

The original recipe is here. I change the seasonings a bit and use fresh mushrooms instead of canned, but otherwise it’s not too different. You will need:

  • 1/2 cup butter (I know… but butter is good for the soul.)
  • 3-5 cloves garlic, chopped (The recipe calls for 3, but you know how I feel about garlic: go big, or go home.)
  • 1 small onion, chopped
  • 1 (10 oz.) package frozen spinach, thawed and drained (I cut a slit in the plastic and microwave it for a couple of minutes until soft, then I squeeze the plastic bag to drain all of the liquids.)
  • 1 container fresh mushrooms, washed and sliced (The recipe calls for a 4.5 oz. can of mushrooms, but why would you do that when you could have the aroma of fresh mushrooms sautéing in butter floating around your house?)
  • 1 (6 oz) package herb and garlic feta (I can never find this, so I buy plain feta and throw in some Italian seasonings)
  • Italian seasonings (optional)
  • 8 oz. shredded Cheddar cheese (The recipe calls for the pre-shredded stuff, but I prefer to buy a block and shred it myself.)
  • 1 (9 inch) deep, unbaked frozen pie crust
  • 4 eggs, beaten
  • 1 cup milk
  • Salt and Pepper to taste

1.  Preheat your oven to 375-degrees F.

2.  Melt the butter in a large skillet over medium heat.  Sauté the garlic and onion in the melted butter for a couple of minutes.  Add the sliced mushrooms (if you’re using fresh mushrooms) and sauté for 3-5 more minutes, until the onions are soft.

At this point, your house will be filled with one of the best aromas you could possibly create. Take a step back, enjoy a sip of your wine (or beverage of choice), and bask in it for a minute.

This is why you try to cook.  You can’t buy this smell.

3.  Stir in the spinach, mushrooms (if you’re using canned mushrooms), feta cheese, and just 1/2 cup of the Cheddar cheese (don’t worry – you’ll use the rest soon).  Also add whatever seasonings you plan on using.

This last time, I used these:

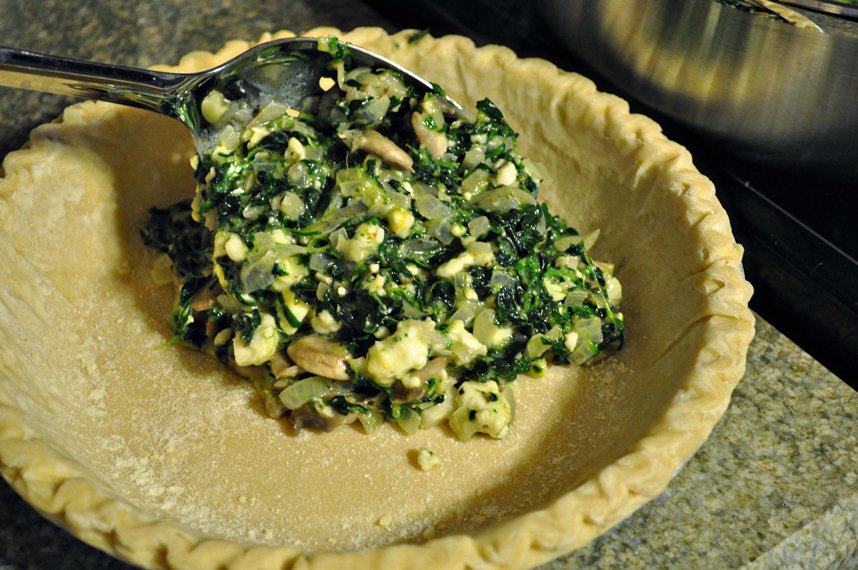
4.  Spoon the spinach mixture into your frozen pie crust.

5.  In a separate bowl, whisk together the 4 eggs and 1 cup of milk.  You can use a fork if you don’t have a whisk.  Season with salt and pepper.  Pour as much of the egg mixture into the pie shell as you can, moving the spinach filling around with a fork to create “holes” where the egg mixture can seep in.  You probably won’t have room for all of the egg mixture, so just pour in as much as you possibly can.

6.  Now.  This is the only difficult part of the entire recipe (unless you decided to make your own pie crust for some crazy reason).  VERY carefully, transfer the quiche to the oven.  It’s a little nerve-wracking because it’s flimsy, and liquidy, and very near spilling all over your floor or the inside of your oven, but you can do this.  I have faith.

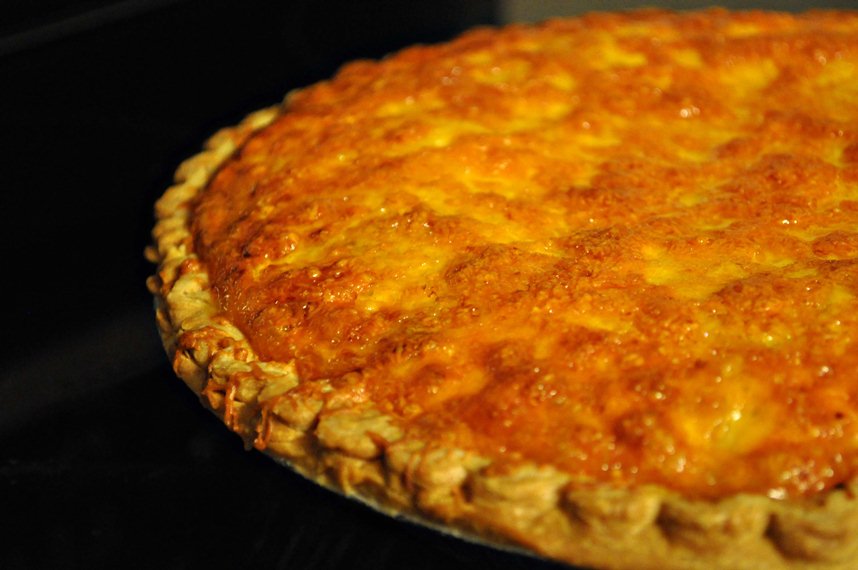
7.  Bake it for 15 minutes so it starts to set up.  Then take it out and add the rest of the Cheddar cheese.

It seems like a lot of cheese.  That’s because it is a lot of cheese.  And it’s delicious.

8.  Bake for an additional 35-40 minutes until you can insert a toothpick or knife into the center and it comes out clean.  Then let it stand for 10  minutes (if you can stand it) before cutting and serving!

*If the crust or the cheese starts to burn while it’s baking but the center still isn’t cooked, just cover the top with foil until it finishes cooking.

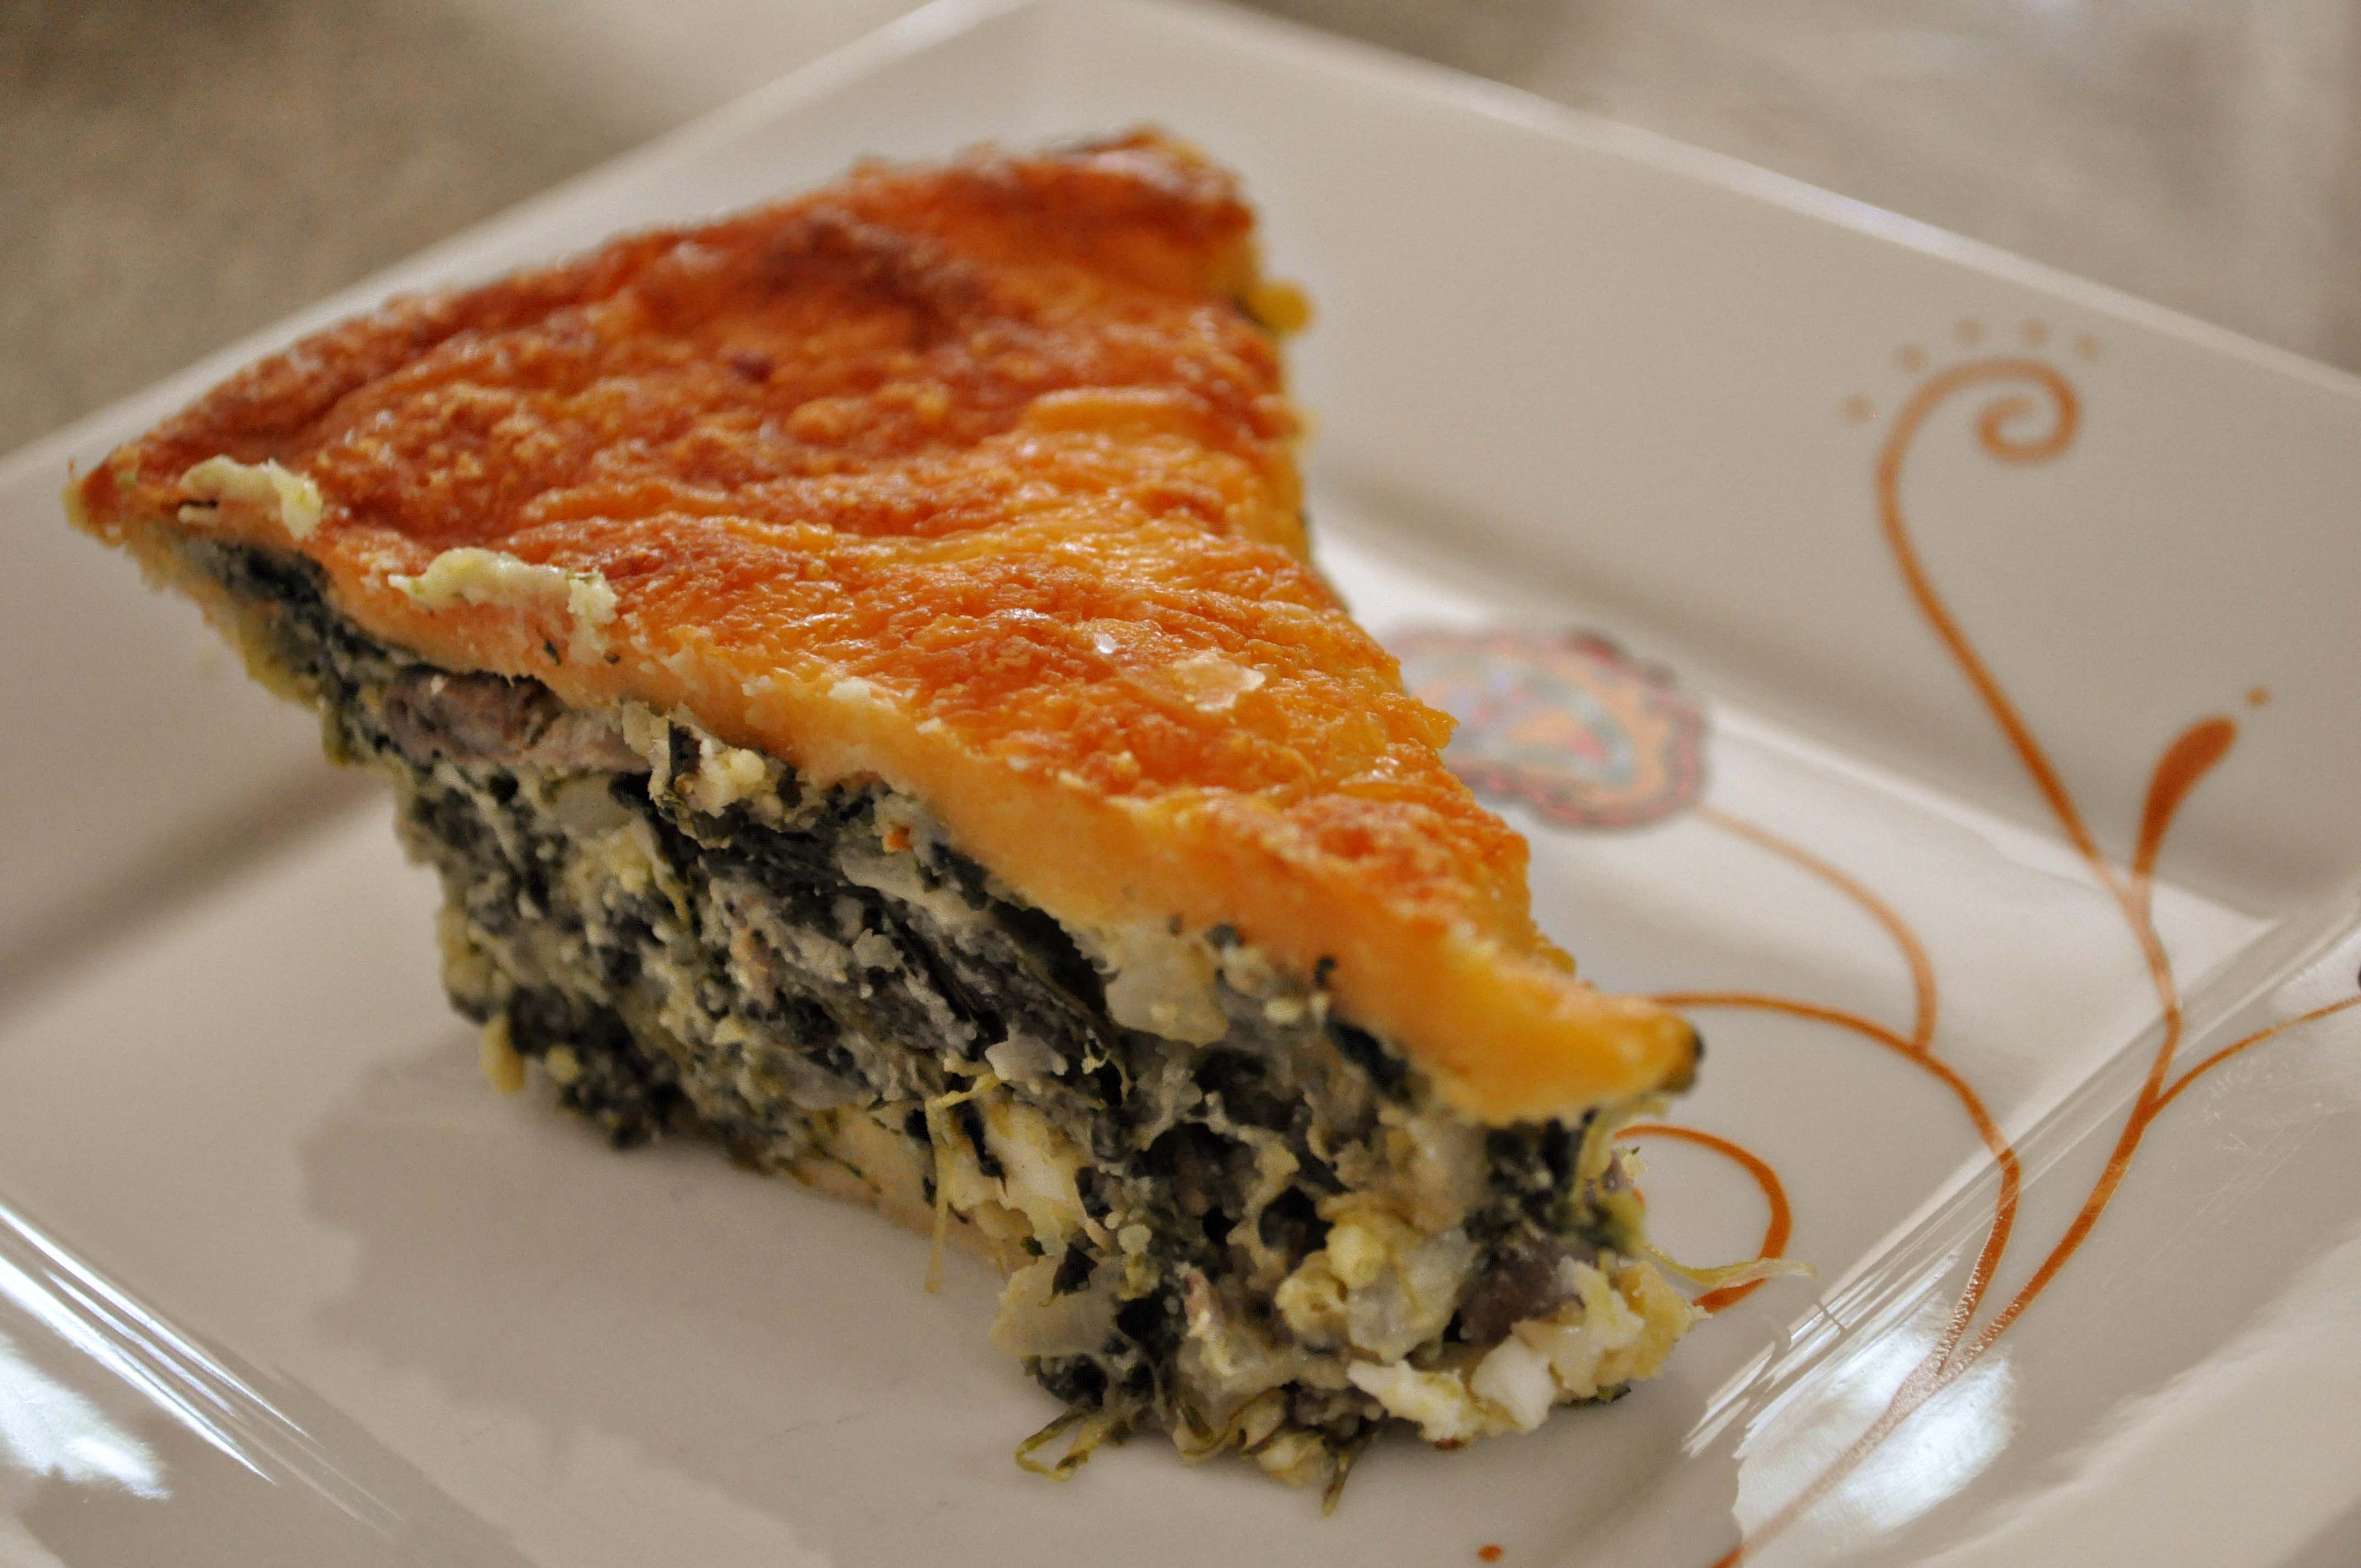
The cheddar forms a soft “crust” on top of the quiche, which is absolutely outstanding.  I didn’t take a picture of my piece that night because it somehow ended up in my stomach before I could pick up the camera, but I did get a shot the next day:

It’s excellent re-heated, and it’s one of my all-time favorite dinners.  Or lunches.  Or breakfasts.

It doesn’t really matter when you eat it, just as long as you eat it.

Are YOU a Chili Racist?

I’m not gonna lie – Erin’s Halloween post from yesterday cracked me up.  I must say her Halloween looked far more entertaining than my night, during which I proceeded to drink an entire bottle of shiraz and pass out candy at my neighbor’s house because they actually decorated for the holiday and I felt it was far easier to mooch off of their hard work and holiday spirit than actually do any work of my own.  Don’t worry – I hid my wine glass behind the porch railing every time the impressionable little kiddies approached, but I may have laughed a little too loudly when my neighbor’s husband told a costumeless teenage boy he looked like Justin Bieber.

Yes, I was that girl.  I’m not proud.

Anyway, I think my lack of enthusiasm for yesterday’s holiday might stem from what it subconsciously implies – the cold is right around the corner.  When I came home from Costa Rica, I noticed the leaves had started turning colors.  I tried my best to ignore it.  When I had to pull the heavy quilt over myself in the middle of the night, I tried to ignore that too.  But the other night, when I felt compelled to make chili for dinner – chili, for godssake – I could ignore it no longer.  The Cold is here.

And since I don’t want to be alone in my misery, I’m going to share my white chili recipe with you – my AWARD-WINNING chili.

That’s right – this recipe won the coveted Golden Ladle at my office chili contest in 2009.  It even won a few votes in 2010, even though I wasn’t allowed to enter the contest as the reigning chili champ.  Now those of you who can’t get enough of traditional, spicy red chili might initially repel the idea of a relatively un-spicy white chili.

But I will tell you what I told the skeptics during my Golden Ladle acceptance speech:  Don’t be a chili racist – give white chili a chance!

I think I originally got this recipe from a grocery store, believe it or not.  I don’t tweak this much, so here’s what you’ll need:

White Chili Ingredients
  • 1 lb. sausage (I use Jimmy Dean’s hot sausage)
  • 1 lb. (give or take) ground turkey (the more you use, the thicker your chili will be.  You can use as little as 1/2 lb. and go as high as you want – I think I used just over a pound this time because I like my chili nice and thick)
  • 1 green bell pepper
  • 1 onion
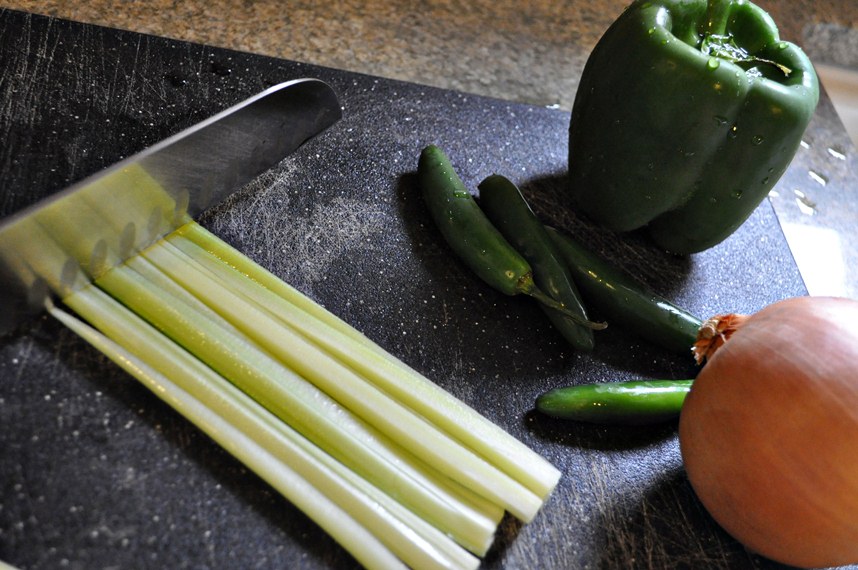
  • 4-5 small stalks of celery
  • 1 Tbsp. roasted garlic (it’s actually really easy to roast garlic yourself, but I already had the jar of store-bought stuff and for the purposes of this chili, it works just as well)
  • 1 package of taco seasoning
  • 2 (15.8 oz) cans of great northern beans
  • 1 (14 oz) can of chicken broth
  • 1 (4.5 oz) can diced green chiles (the store was out of these, so I picked up 4 fresh green chiles and diced them myself – a little more work, but still tasty)
  • 1 (16 oz) can of refried beans with diced green chiles (This is the SECRET INGREDIENT, friends.  That’s right – it’s the thing that people love when they taste it but can’t quite figure out what it is.  Whatever you do, don’t skip this ingredient – it’s okay if you can’t find the kind with chiles – and DON’T tell them what it is!)

1.  Turn on your favorite satellite music station and dice up your celery, onion and bell pepper.  You should definitely sing while you’re doing this, but be careful about dancing – you are wielding a knife.

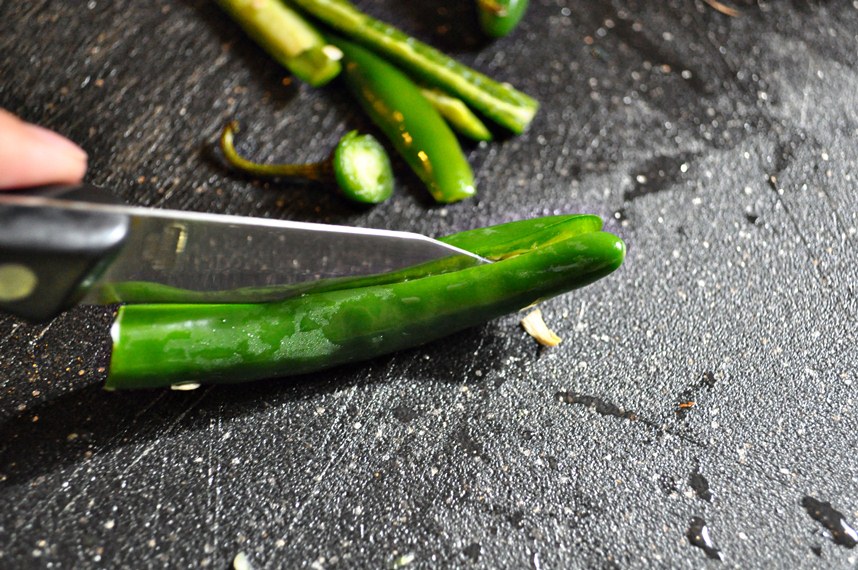
2.  If you bought fresh chiles, go ahead and dice those up as well.  Wear gloves if you’re smart, but if you’re me, forget the gloves and slice them into quarters lengthwise, slice off the seedy membrane part, and then chop up the rest.  That stinging sensation on your fingers will go away.  Eventually.

Everything’s ready!

3.  Warm up a pot over medium-high heat.  Add the sausage, turkey, onions, celery and green bell peppers.  If you’re using fresh chiles, add those too at this time.  Sauté everything for 10-12 minutes until the meat is fully cooked and the veggies are soft.

4.  Drain the excess grease, then stir in the taco seasoning.  Cover and let cook for about a minute, just to let all the tasty seasoning goodness soak into the meat.

5.  Remove cover and stir in the remaining ingredients (roasted garlic, northern beans (including liquid), refried beans, chicken broth, and the can of chiles if you didn’t use fresh).

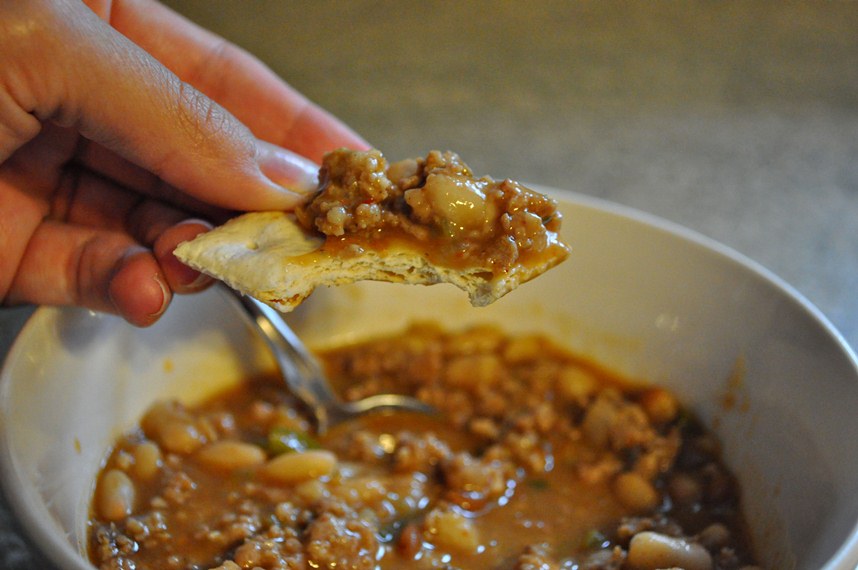
6.  Let sit on the stove, stirring occasionally, until everything is nice and warmed through.  Serve with your favorite hot sauce on the side and enjoy!

Mini Hammy Sammies

Okay, folks.  This is the easiest recipe I’ve shown you thus far.  And some of the (very few) ingredients might seem a little strange to you, especially when mixed together and spread onto a bun of deliciousness.

But you want to make these.  Trust me.

These mini hammy sammies are perfect for dinner in front of a movie with a cold beer.  Or munchin’ on while watching a favorite sporting event with a cold beer.  Or enjoying out on the deck on a balmy night with a cold beer.

Catch my drift?

They’re pretty casual, very quick, and, since they’re easy to make in bulk, would work really great for a party appetizer.

The original Mini Ham and Cheese Roll recipe is found here.  I hardly change a thing.  (Except, you’ll see in this one particular instance, I thought I had poppy seeds when I did not, in fact, have poppy seeds.  Please excuse this horrible lapse in judgement and don’t make the same mistake.)

*You definitely want to halve this recipe if you’re just making it for a couple people.  The full recipe below makes 24 mini sammies.

WHAT YOU NEED:

  • 2 Tbsp. dried minced onion
  • 1 Tbsp. prepared mustard
  • 2 Tbsp. poppy seeds (Don’t forget these – they’re great.)
  • 1/2 cup butter, melted
  • 24 dinner rolls
  • 1/2 pound chopped ham (I just use sliced deli ham)
  • 1/2 pound thinly sliced Swiss cheese
Mini Ham and Cheese Rolls

Missing from the family photo:  Butter (he was getting nuked) and Poppy Seeds (they’re probably off at a bar somewhere tossing shots and hitting on wildly inappropriate women – it’s like pulling teeth to get them to come to these reunions).

DIRECTIONS:

1.  Preheat oven to 325-degrees F (more like 315 in our case – our oven cooks hot).

2.  Melt the butter in a bowl.  Just a lil’ tip:  If you use a microwave, it’s easier to cut the butter up and cover it with a paper towel so it doesn’t splatter.

Melt Butter

3.  Add your minced onion, mustard, and poppy seeds (IF they’d bothered to show up) to the melted butter and give it a good stir.

4.  Line a baking sheet with foil, then split the dinner rolls.  It’s easier if you leave them attached to each other in groups of 2, 4, or even all 8.  That way you can spread everything on ’em and it doesn’t drip through while they’re baking.  Just cut them apart when you’re done.

5.  Here’s where we deviate from the original directions a bit.  The original directions say to spread our butter mixture over the top of the buns, but we like to be sneaky and put some inside the buns as well.  Let’s be honest – these aren’t exactly healthy.  So why not just go all-out?

6.  Assemble the sandwiches by adding the ham and cheese.  (I’m sure you could’ve figured out where this is going by now, but I like to spell things out.  You know, just in case…)

7.  Close ’em up and spread or drizzle more of the butter mixture on top.  This is necessary so your buns don’t dry out in the oven.  Nobody likes dry buns!

Pretend there are lovely little black poppy seeds adorning the tops as well.  It just feels like something is missing without them.

8.  Bake them for about 20 minutes until the cheese is ooey, gooey, melty and delicious.

9.  Pop ’em on a plate and enjoy!  And don’t forget the beer.