
Stairway To Heaven. Or At Least My Version Of It.
“We’ll just turn this into a laundry room!” I’d said when we closed on our house, gazing around the narrow paneled room that smelled like cat litter and which the previous owners had used as an office. An office. It’s directly off of the garage and has a door to the back yard. Sunken down a couple of steps from the main house and lacking any kind of crawl space access, the room feels like an afterthought –adorned with wood paneling and salmon-colored brick, then slapped on to the side of our mid-century ranch.
This room wasn’t meant for collating papers — clearly, it was destined to rescue me from doing laundry in my garage amongst the sawdust and spiders for the rest of our time here. Simple solution!
Turns out I was unabashedly enthusiastic and oh-so naive.
Even though Justin and I are fairly well-versed in home renovations by now, changing an entire room’s functionality — especially if it involves water and ventilation — is officially the Big Leagues and not for the faint of heart. (Or thin of wallet.)
In order to transform a regular room into a laundry room, there are several major functionality factors that have to be considered. There’s almost always a solution if you have enough money to throw at a project, but sometimes the cost and practicalities involved with utility hookups simply outweigh your desire to have them. For me, this was not the case. I wanted that room.
Aside from painting the brick and paneling and installing new vinyl floors, the room had to actually function. That meant:
- Installing a water line to run to the washer
- Installing a drain line to run away from the washer
- Installing a 220v outlet for the dryer
- Installing a dryer vent
Yep. It’s almost as much specialist work as adding a bathroom.
For these, we called in the professionals. My trusted go-to plumber who hooked up the gas line for our stove was first on my list. Running the water line to the washer would be simple enough, but figuring out drainage was a head-scratcher. Our house is very long, and all of the bathrooms are on one end while the laundry room is on the other. The main drain pipe sits about half-way beneath, which meant he had a fairly long line to run to reach it. The catch is that the drain line from the washer requires a certain amount of downward slope so the water continues to flow — so we had to make sure the washer drain wouldn’t actually end up being lower than the main drain (and therefore unable to connect with it) once we factored in distance and the required slope.
Yay geometry.
Add to that the fact that we were dealing with a brick wall and no crawl space beneath the laundry room, and we were fairly close to giving up. But that’s when I decided we’d sacrifice space inside our garage along the wall to the cause. The problem there is that we had steps in the way, which meant Justin would have to build wooden steps over the brick ones to hide the drain pipe (and eliminate the trip hazard). Fortunately, Justin is handy and was willing to take one for the team.
With that resolved, I gave our plumber permission to cut a giant hole in our brick, grabbed myself a mid-day beer, and crossed my fingers that everything would work out.
**SPOILER ALERT** It did!
Once he had the drain pipe hooked up, we had a major trip hazard running across the top of our brick steps that lead down to the garage, so Justin immediately set to work building the new stairs. Fortunately the brick steps ended on a rise leading up to the room, so he was able to build his steps with one extra tread, meaning we now have a small landing at the top of the steps.
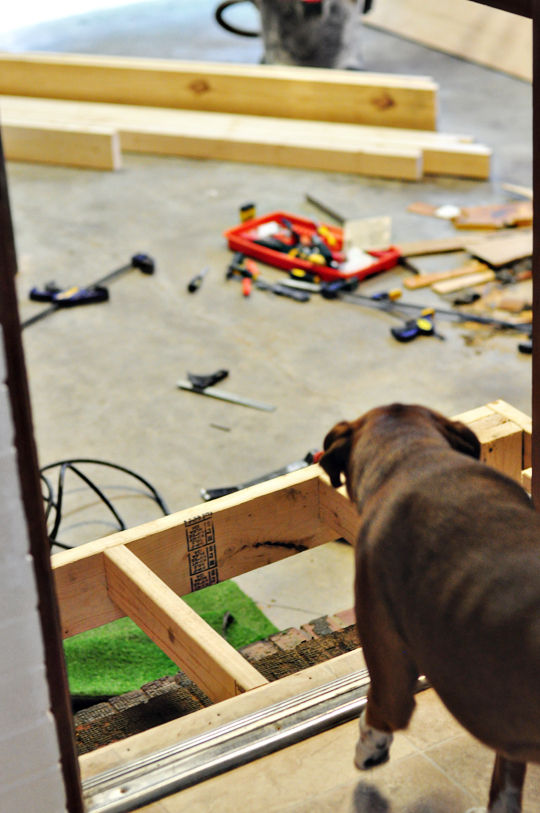

Here, you can see the thick white drain pipe as well as the skinny water lines running across the brick steps. He had to build our new stairs around that thing. It also runs through the cabinet to the right, which Justin modified to fit around it as well:
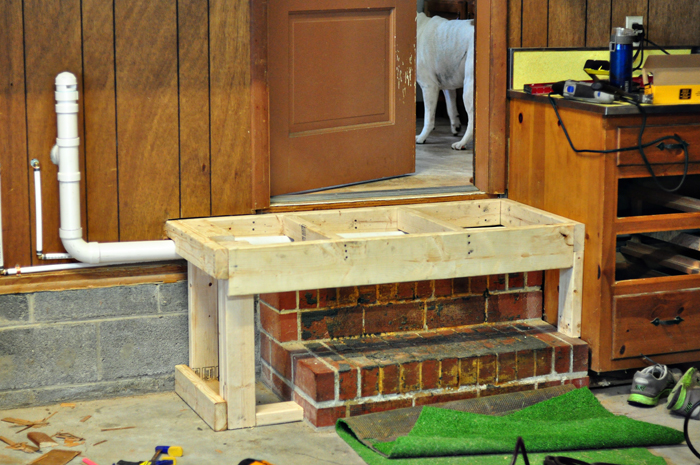
That nasty residue on the brick is glue from the fun green artificial turf the previous owners had running up the steps. They also had that on our front stoop. Good times.
And here they are all finished:
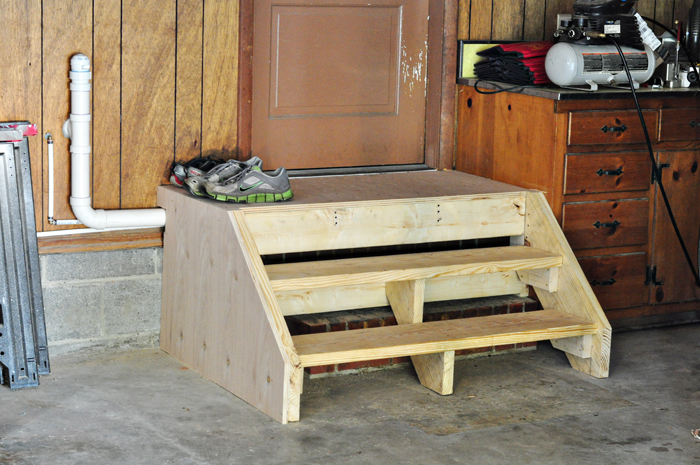
This is MY stairway to heaven — a functional laundry room!
Our temporary roommate has offered to stain these bad boys because she’s a freak who enjoys staining. I will not attempt to convince her otherwise.
Next, the 220v outlet for the dryer was simple. We called an electrician, negotiated where the lines would run (again, against the brick wall on the garage side to keep the laundry room side looking “clean”), and let ’em have at it. It was done in about 20 minutes.
Finally, we had to contend with the dryer vent. I’d thought this would be the simplest issue of all from the beginning, but ended up being the biggest point of contention in the project and turned me into a surly bad wolf. See, the people doing the actual work (my plumber and his dad), wanted to run the vent along the floor in the laundry room near the garage wall and then out the side. That way they’d only have to drill one hole through the brick on the outside of the house. But to me, we already had several holes going through the brick wall to the garage — what was one more? For re-sale purposes, it was very important to me to keep the laundry room free of unsightly pipes. My plumber then tried to convince me to use one of these, which this blogger just installed in her basement, but with no sink nearby and an exterior wall to vent through right there, it was an impossible sell. I won, and we now have a proper dryer vent going first through the brick wall to the garage, and then through the brick wall to the outside of the house.
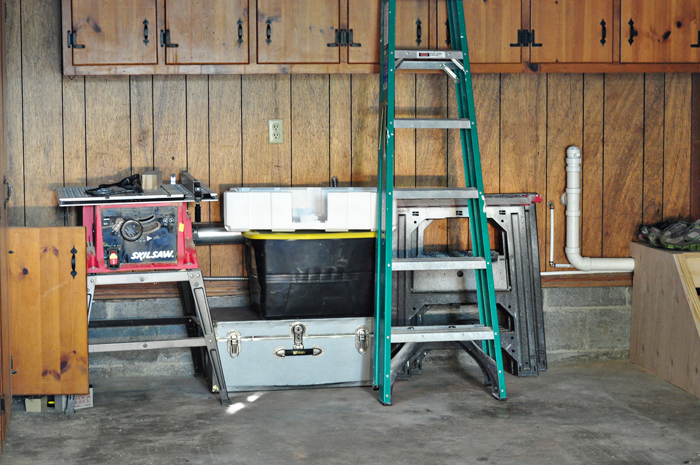
We’ve already piled our crap back in front of this garage wall, but if you look carefully, you can see two silver lines running to the left. The skinny one on the bottom is the electrical conduit for the outlet, and the thick one is the dryer vent.
*Note: You do NOT want to vent your dryer directly into a garage or crawl space. When you vent a dryer, what you’re venting is heat and moisture. Do you want additional heat and moisture inside your garage or beneath your home? Of course not. Always vent your dryer outside. Venting through the roof was another option, but putting a hole in the roof was scarier to us than going through two walls of brick.
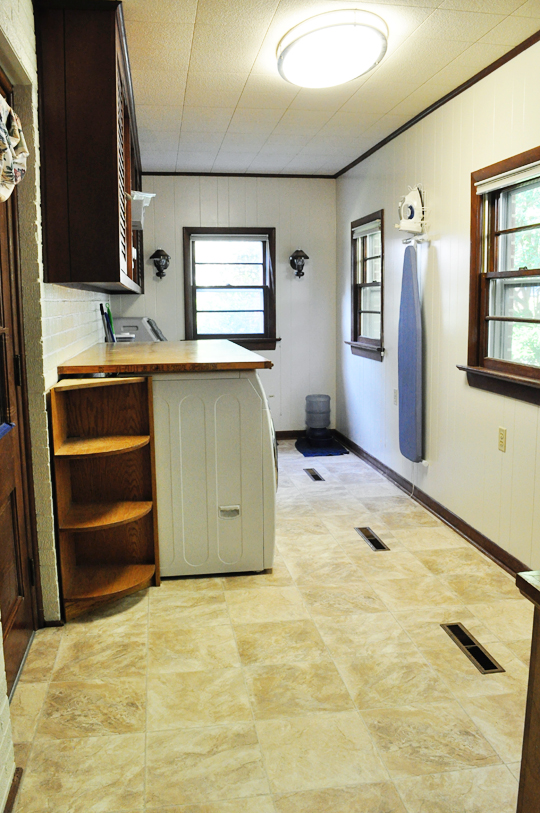
Inside the laundry room, the layout isn’t ideal. In a perfect world, we’d have the washer and dryer against the back wall beneath the far window. This undoubtedly would’ve improved the layout within the room and simplified the dryer ventilation step, since that’s an exterior wall. But with no crawl space and the issue of the washer drain and slope, we had no other choice but to locate it along the garage wall, as close to the door as possible.
View from house (garage door on left and door to back yard directly to the right):
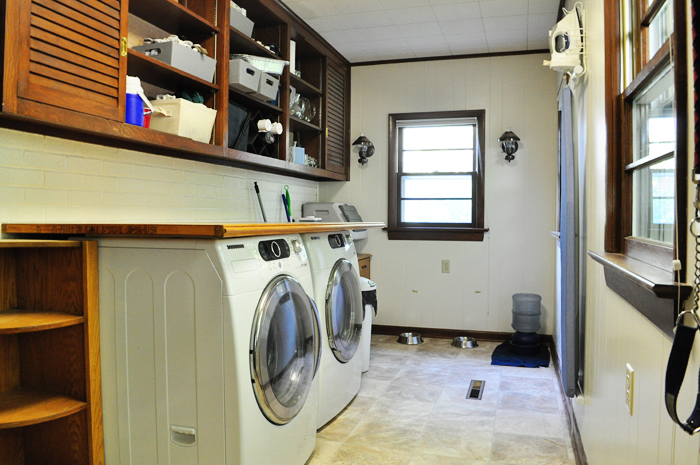
This left us with some room along that back wall behind the washer and dryer for a mutt feeding/supply storage station. Here it is facing towards the house:

I still have some finishing touches to add in here, but for now, I’m thrilled to have a fully functioning indoor laundry room!
And the best part? Justin can leave his skunky military physical training clothes out by the garage washer and dryer. That’s right — my husband has his own laundry station for the funky stuff. I’m OFFICIALLY beyond spoiled.
Cost Breakdown:
Plumbing work: $1,200 (We have an AMAZING plumber. I do believe most would have charged more for everything he did.)
Electrical: $275 (Kind of feels like we overpaid for how simple this was.)
Steps: $100-ish? I didn’t see the lumber receipts, but I’d imagine the cost was somewhere around there. Plus Justin’s labor in 90-degree heat.
Total (not including paint/flooring): ~$1,600
TOTALLY worth it for a functioning laundry room. And bonus? I think we’ll be able to get this back when it comes time to re-sell.
Comments
It turned out amazing! And it does have resell, people spend a lot of time in a room like that and they want it to be functional and pretty! Jessica is jealous of your dogs’ space!
Ha! It could definitely stand to be prettier, but at least now it doesn’t smell like pet feces and that’s really all that matters when it comes to a livable space, yes? :)
Wow; you read my mind! The kitchen in the home we just bought houses the washer & dryer – no pantry. Now, there are plenty of things I can compromise on, but using my favorite room to mix clean dishes and dirty laundry is not one of them! My soon-to-be laundry room is the reverse (flip) of yours. Many thanks for the tips! The 220 electric has been done, but we were planning on venting into the garage. You’ve saved us from making a mistake we would’ve lived to rue.
Thanks for posting your experience with this! My wife and I are looking to move our laundry room from our dingy basement into a back room.