Navigate / search

Parmesan Tilapia & Asparagus in Balsamic Butter Sauce

This is one of my favorite recipes for 2 reasons:

1.  It’s VERY simple to make.

2.  It doesn’t look or taste very simple to make.

It’s not like it looks fancy or anything – in fact when I make it, it looks quite sloppy – but put it in a fancy restaurant-style dish and slap some fresh parsley on top, and you have a meal fit for company.

For those of you who might not know, tilapia is a white-looking fish.  It can be semi-fishy tasting (but not too bad), but this recipe covers that “fishyness” right up.  I highly encourage you to try it if you’ve never had it.

I made it a couple of nights ago because I happened to have some frozen tilapia fillets and all of the other ingredients on-hand.  I also had some leftover asparagus from this recipe, so I decided to make one of my favorite side-dishes to go with the fish.

Here is the link to the original tilapia recipe.

Here is the link to the original asparagus recipe.

First, I thawed my tilapia fillets in the sink under running water.

Actually, first I poured a glass of wine.  I always cook with wine – sometimes I even use it in the recipe.  (Ha! No, I can’t take credit for that… heard it somewhere.)

While that was happening, I got the asparagus baking.

1.  Preheat your oven to 400-degrees F.

2.  Rinse your asparagus and clip off the fat, woody ends.

3.  Spray a cooking sheet with non-stick cooking spray and spread your asparagus evenly onto the sheet.  Spray cooking spray over the top.

Balsamic Asparagus
Asparagus with Balsamic Butter

4.  Generously season with salt and pepper.  Just go for it!

I keep my kosher salt in a small, covered container next to the stove for easy access.

Okay, I might have gone a tad overboard with the seasoning…

5.  When the oven is preheated, just pop ’em on in on a middle rack.  Let ’em bake for about 10 minutes.  They should be somewhat floppy, but to me they’re good if they retain a bit of a snap.  You just don’t want them too tough.

While your asparagus is baking, you can start working on your Parmesan sauce for the tilapia.

By the way, I make these recipes so often that they’ve ended up in my “special” cookbook.  It was a gift from my sister.

Kate's Cookbook

Okay back to the Parmesan sauce.  I didn’t halve the recipe for the sauce, even though I probably only used 1 lb. of fish (the recipe calls for 2 lbs.).  What I’m trying to say is, doubling the sauce is perfect.

You will need:

  • 1/2 c. Parmesan Cheese
  • 1/4 c. Butter, softened (softened – not melted! ~10 seconds in the microwave worked for me)
  • 3 Tbsp. Mayonnaise
  • 2 Tbsp. Lemon Juice
  • 1/4 tsp. Dried Basil (I used fresh from the garden)
  • 1/4 tsp. Ground Black Pepper
  • 1/8 tsp. Onion Powder
  • 1/8 tsp. Celery Salt

The pepper was feeling anti-social.

All you need to do is measure this stuff out and mix it in with your softened butter.

Then realize your bowl is too small and switch to something larger.

And that’s all there is to it!

Take your asparagus out of the oven if it’s finished and set it aside.

See my art?  Yeah… still in the kitchen.  Home might be where the heart is, but the kitchen is where the art is.

Sorry.  The cheese-factor is unforgivable.

Immediately set your oven to broil.  You’ll want one of your oven racks to be up near the top of the oven (if your broiler is at the top).

Line a baking sheet with tinfoil and set your fillets on top.

Stick ’em under the broiler for ~2 minutes.  Leave the oven door open a couple inches!!

Meanwhile, get your balsamic butter sauce for the asparagus going.  Things are really rolling now…

Melt 2 Tbsp. butter on the stove over low heat.

While the butter is melting on the stove, check your fish.  When the 2 minutes are up, flip over your fillets and stick ’em back under the broiler for another 2 minutes.

Once your butter is melted, remove from heat and add 1 Tbsp. of Soy Sauce and 1 tsp. of Balsamic Vinegar.

Pour the sauce over the asparagus, and that’s DONE!

Take out your fish (so far they’ve only cooked 2 minutes on each side) and spoon the Parmesan sauce over the top.  Remember that halved the amount of fish but not the sauce – that’s why mine looks extra gloopy.  It’s still very good with less sauce and will form more of  a not-quite-crust.

Put them in for 2-3 more minutes.  Watch closely, because things can darken under the broiler fairly quickly.

Take them out when the look about like this:

Mmmm… melty, cheesy goodness.

This would look even better if I’d remembered to add the chopped, flat-leaf parsley from my garden.

But the fish is nice and flaky – kinda like me – and the balsamic butter sauce on the asparagus is oh, so good.

Shrimpy, Garlicy, Asparagusy Pasta. With Wine.

Hawaii was amazing.

Spectacular.

Too good beyond words.

I’ll probably share bits and pieces of the trip for awhile because my heart just doesn’t want to let it go.

But I won’t talk about it every day, because I know how exciting it is to look at other peoples’ vacation pictures.  (Actually, I might be one of the few people who actually enjoys it.  But I’m weird like that.)

So tonight, to celebrate being back in my own, newly-remodeled kitchen after nearly 24 hours of travel to get here, we cooked dinner for ourselves.

Since this blog is called DomesticatING Kate – not DomesticatED Kate, I’m going to share with you another recipe I found somewhere else.  I can’t make these things up, people.  I’m just not that good.  BUT, if I find something good, I like to share it with you.

Here is the original recipe.  Extra crispy.  This food blogger calls herself Cookin’ Canuck, and hopefully she doesn’t mind me sharing her delicious recipe with you.  Even with my inferior photography and cooking skills, this still turned out great.  If you want to really impress someone with a restaurant-tasting dinner, give this one a try.

I didn’t change it much – just halved it (which still made more than enough for the hubs and me).  In spite of the fact that it didn’t contain any butter or heavy cream (two major proponents of tastiness in my book), it was still absolutely delicious-o.  Oh, and it only contains minuscule amounts of cheese (again, unusual for me).

Here’s what you need to make it the way I did – except remember to cut it in half if you’re cooking for less than a family of 4:

  • 1 lb. linguini
  • 1/2 lb. fresh asparagus (cut off the thick white parts at the base and cut into 1-inch pieces)
  • 1/4 cup extra-virgin olive oil
  • 3 garlic cloves, minced (I did NOT halve the garlic – according to me, you can never have too much garlic)
  • 1 pinch crushed red chili flakes (I actually used red pepper flakes, since that’s what I had on hand)
  • 3/4 cup dry white wine (I used an inexpensive chardonnay, since that’s what I had open from last night.  To cope with the jet lag.  Yes, that’s it.  To cope with the jet lag.)
  • 3/4 lb. large shrimp, peeled and deveined (I bought the pre-peeled, deveined and cooked stuff.  Easier and on sale.  Didn’t halve this either.)
  • 12 sun-dried tomatoes, thinly sliced (This comes in a dry pouch or in a jar of marinade.  I bought the jar.)
  • 1/2 tsp. salt
  • 1/2 tsp. pepper
  • 1/2 cup finely grated Parmesan cheese, plus more for serving
  • 1/4 cup (packed) chopped fresh flat-leaf parsley

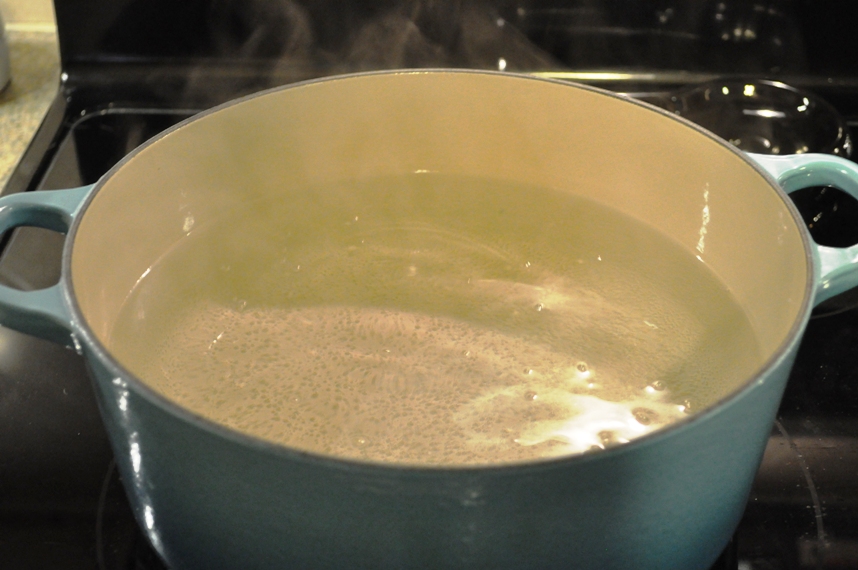
1.  Start by getting some salted water boiling so you can cook your noodles.

Boil Salted Water

2.  while your water gets going, chop up the asparagus.  The hubs was good at that.  (We only used about half this pile, by the way.  I didn’t realize until we got going that we should halve the recipe.)  Set the asparagus aside – you won’t be seeing it again until your linguine is almost al dente.

Chop Asparagus

3.  If you have frozen shrimp, thaw it according to the package directions.  We ran ours under water for a few minutes, then the hubs pulled off the tails.

Defrost Shrimp

4.  Your water is hopefully boiling by now (or close to it), so go ahead and throw in your linguini.  Cook according to package directions.  (I set my timer for 10 minutes – my Life ADD causes me to forget about minuscule dinner details like pasta cooking, so this step is imperative for me.  I also wanted to make sure I added the asparagus at the right time so I wouldn’t overcook it.  No one likes mushy asparagus.)

Cook Linguini

4.  Next go ahead and mince yourself up some garlic.  And slice your sundried tomatoes (I didn’t drain them completely, but let them sit in some of the yummy garlic bits and capers.  I think it probably added to the sauce immensely).

Minced Garlic
Sundried tomatoes
Sundried Tomatoes

I realize these look a uncomfortably close to the lungs you unearthed from the frogs you dissected in high school, but I promise you they smell and taste much better.  Not that I ever tasted frog lungs.

Sundried Tomatoes

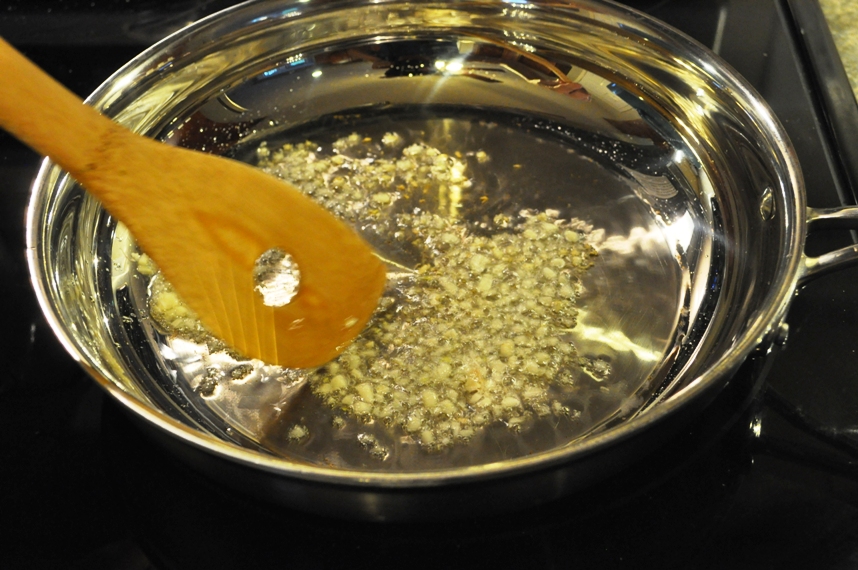
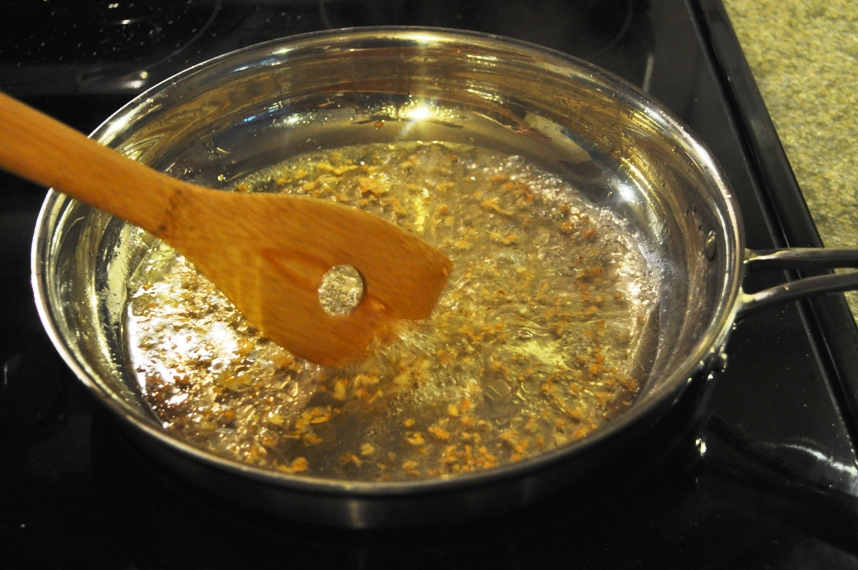
5.  Heat the oil in a skillet over medium heat.  Throw in your garlic and pinch of dried red pepper.  Cook for about a minute.

Sauté Garlic
Red Pepper

6.  Pour in your white wine and simmer 1-2  minutes.  (You might want to take a sip of the wine, first.  You know, just to test it.)

White Wine Sauce

7.  Add the shrimp and stir 1-2 minutes until it’s pink and cooked.  If it’s pre-cooked (like mine), just stir a minute or so until it’s heated.  In retrospect, this would’ve been a bit easier to eat if I had roughly chopped the shrimp first.

Sauté Shrimp

8.  If your pasta is about 1 minute away from al dente, throw in your asparagus.  Cook for about a minute, then drain.

Pasta and Asparagus
Pasta and Asparagus

9.  Add the sundried tomatoes, salt and pepper to your shrimp pan.

Garlic Wine Shrimp Sauce

10.  Pour your shrimp/asparagus/sundried tomato/wine/garlic sauce to the pasta and stir.

Shrimp Asparagus Garlic Wine Pasta

11.  Add the parmesan cheese and parsley (the hubs chopped parsley fresh from our garden!).

12.  Eat up!  For how easy this was, it was surprisingly yummy (despite my yellow photography).  We will definitely be making this again.  Even if you think you don’t like asparagus or tomatoes – open your mind to something a little different.  The hubs, for all his claim to not liking tomatoes (he still won’t eat them raw), gobbled this down.

Oh, and don’t forget to sprinkle on a bit more cheese.

Yum!  Don’t let my dark and yellow photography turn you off – this stuff will impress anyone.  Thanks, Cookin’ Canuck!  I always knew I liked Canada.