
Gray, Moody Vanity for a Gray, Moody Day.
It is yet another rainy, dreary morning here in Gated Community Land, and I’ll tell you — this kind of weather is NOT conducive to taking master bathroom progress photos.
But.
I took them anyway, embracing the blurry grainyness of high ISO, low-light, overly-post-processed look for you, my friends.
So you can see what’s happening.
Good things are happening.
Things that make it better than this:
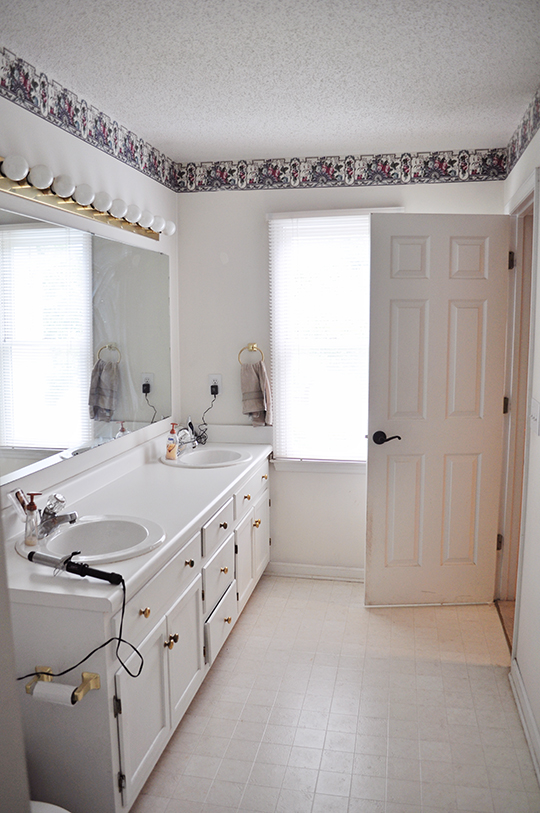
If you recall from my last bathroom post, we were virtually working with a blank slate.
We’d already removed that monstrosity of a wallpaper border in the photo above, and Justin had scraped the popcorn off the ceiling, so it was looking more like this:
White vanity. White laminate countertop. Dated faucets. Brass fixtures.
Look, I loved the 90’s as much as any 80’s baby, but come on. The look had to go.
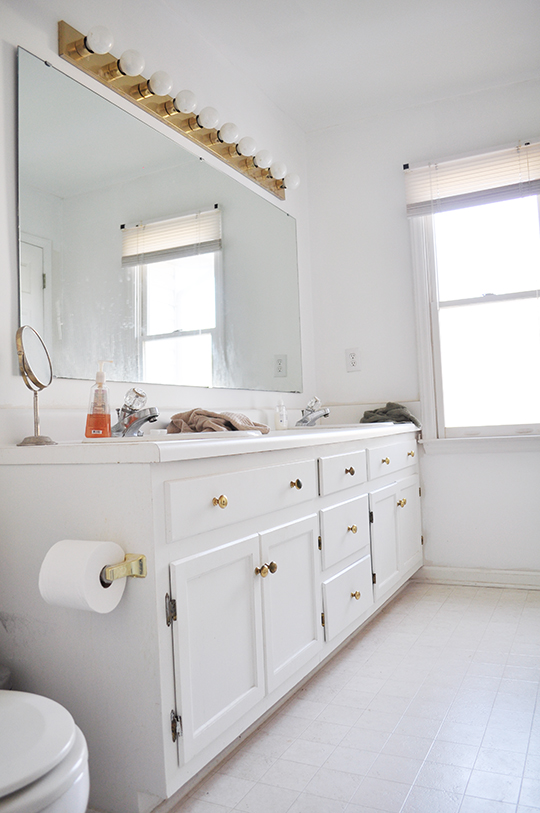
Since we’re working on a limited budget and trying to prep the house for re-sale, we made the executive decision to keep the existing vanity. It’s huge, for one thing, and replacing it — or even just the top — could easily cost hundreds to thousands of dollars.
Painting it was pretty much a no-brainer.
My biggest worry was that painting it would end up making the laminate top look even cheaper, but I figured we’d deal with that hurdle if we came to it.
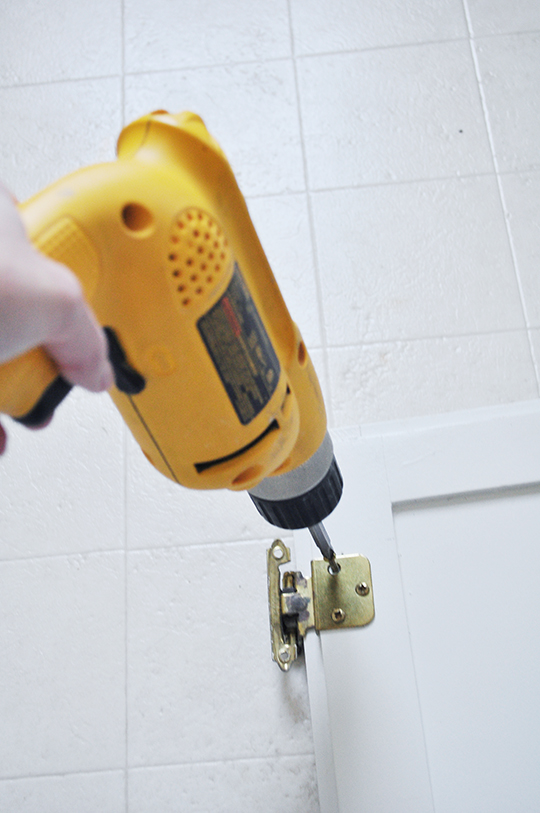
So while Justin was prepping that ugly yellow bathtub for refinishing, I removed doors, hardware, and drawers.
Then I sanded.
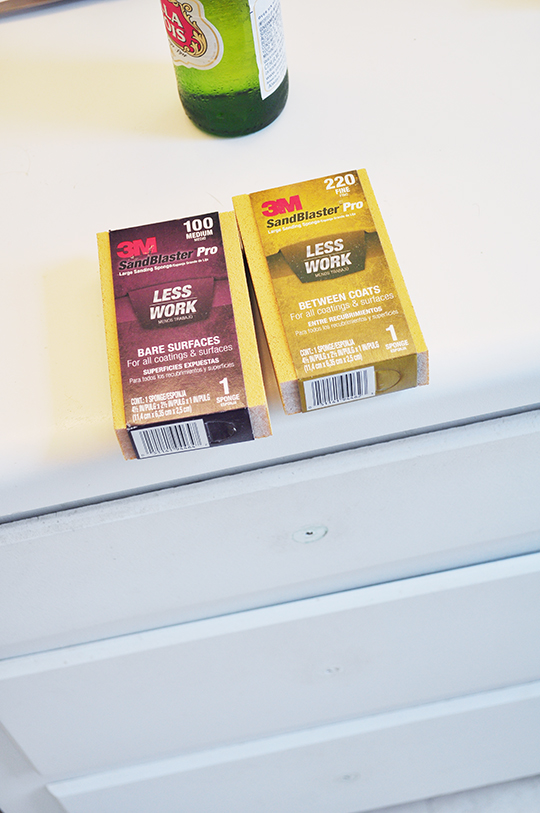
Don’t ask me why the sanding blocks say “less work.” Less work than what? Than not sanding? Rest assured it was work.
I didn’t bother priming because the cabinets were already painted a gloppy coat of white. I took a chance and assumed it was a water-based paint (everything else in this house has been so far), so I covered it with two coats of Valspar’s Ultra Kitchen & Bath Paint + Primer from Lowe’s, since that’s what the salesman talked Justin into when he went to buy the paint.
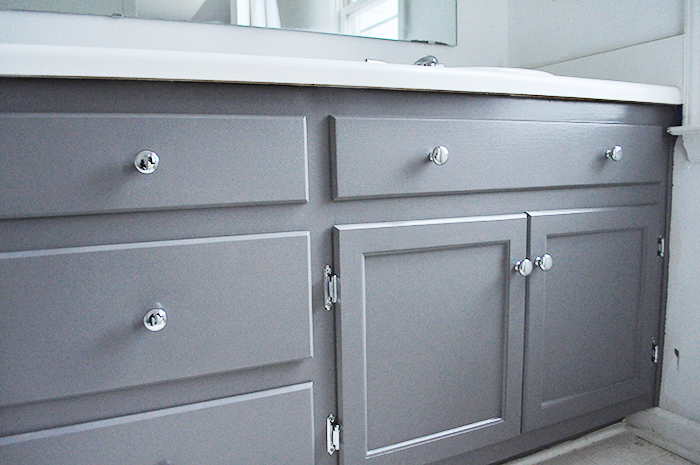
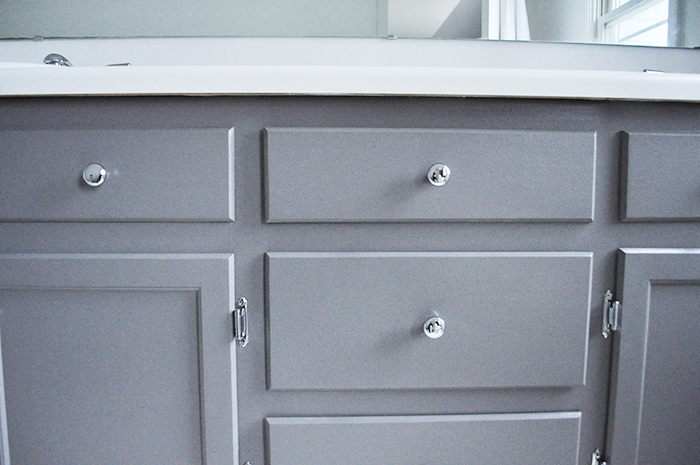
I was leery about this paint and primer combo because the website has horrific reviews, but after painting two thin coats and letting it dry for a couple of days and adding new hardware (also from Lowe’s), viola!
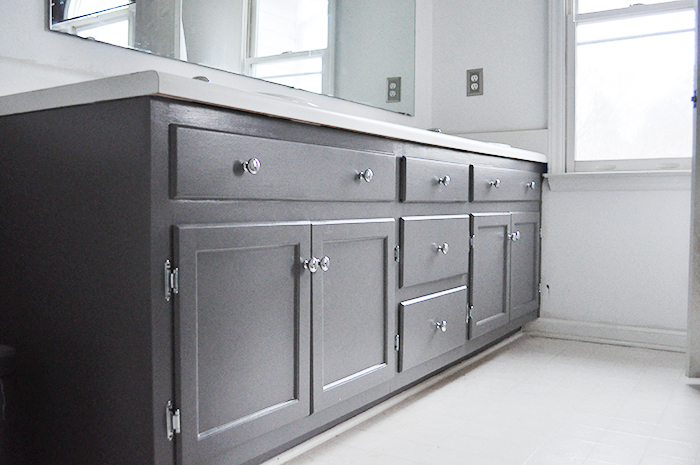
The color is Valspar’s Rugged Suede (4003-2B), which is the same as our master bedroom walls.
Okay. So of course it wasn’t quite that simple.
The vanity doors didn’t want to re-attach because the screw holes were too big for the new hinges. So Justin, infamous Jerry-rigger that he is, shoved a bunch of toothpicks and glue inside the holes, which gave the smaller screws something to grip once everything dried.
Trust me — these puppies are solid.
We also switched out the old plastic-knobbed faucets for these $40 chrome Delta babies from Home Depot.
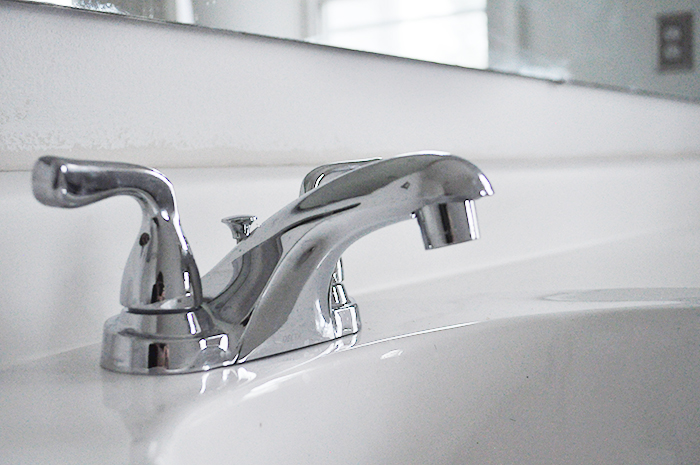
Again, I’m stressing resale here. We wanted a reputable brand that wouldn’t be likely to break on new owners (or renters, if it comes down to it), but affordability was key.
They’re nothing fancy, but it did wonders to update the look.
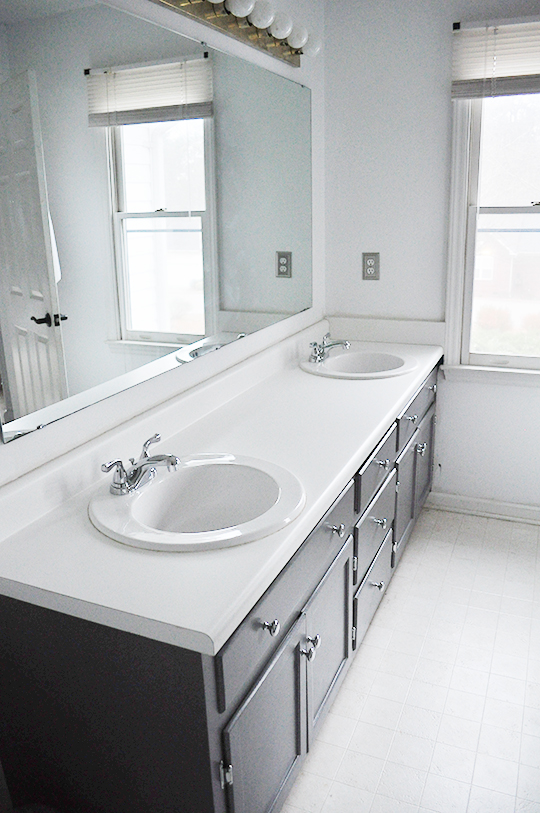
Of course, that brass light fixture still has to go.
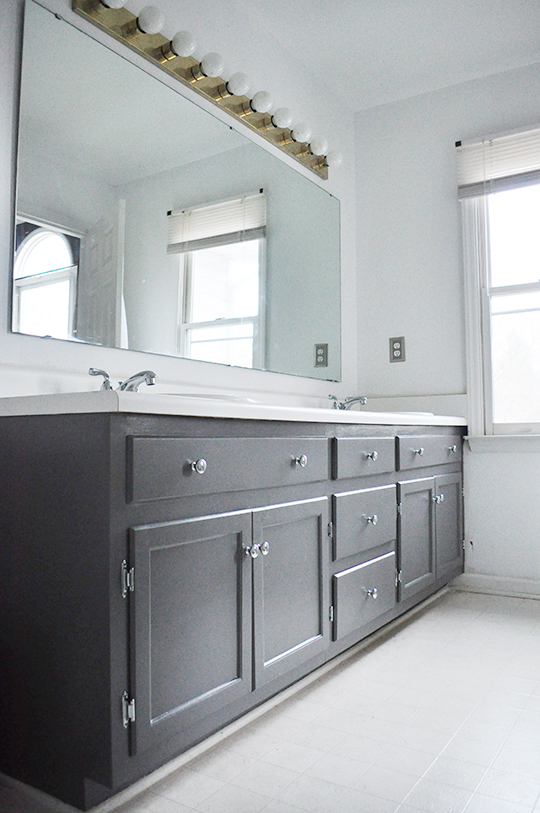
But what do you think? Progress, no?
Today we’re painting the walls and ceiling. Should be good times.
But at least we’re no longer high on bathtub refinishing fumes. (More details on that to come.)
So here’s where we’re sitting:
Remove the “popcorn” ceiling finishRepair rotting drywall above tub- Re-finish nasty bathtub
- Paint walls and ceiling
- Replace brass fixtures
Paint and fix vanityReplace faucets(?)- Frame mirror(?)
- Accessorize
Moving right along! At this rate we’ll be finished by Easter.
2014.
P.S. Doing some background blog maintenance today. If you leave a comment and it doesn’t happen to be there tomorrow, I apologize! I’m going to try my best to preserve anything that happens between today and tomorrow, but this technology stuff is pretty over-my-head, so please bear with me. Growing pains and all…
Comments
Love the color! I think you are making great progress.
Aw, thanks! I was nervous such a rich color would make the laminate top stand out in a bad way, but I definitely think it helps. Glad you agree!
Total progress! LOVE it!!!
Thank you! Getting ready to paint the walls now. Super exciting because this is the LAST room we have to paint!!
[…] you already know, we decided to paint the huge vanity rather than replace it. The choice made sense by saving us the stress of having to find something […]
[…] updating master bathroom (still have to frame mirror) […]
[…] Finish updating master bathroom (DIY) […]